Rainbow Six Siege Operator Guide:
How To Play Ace in 2023?
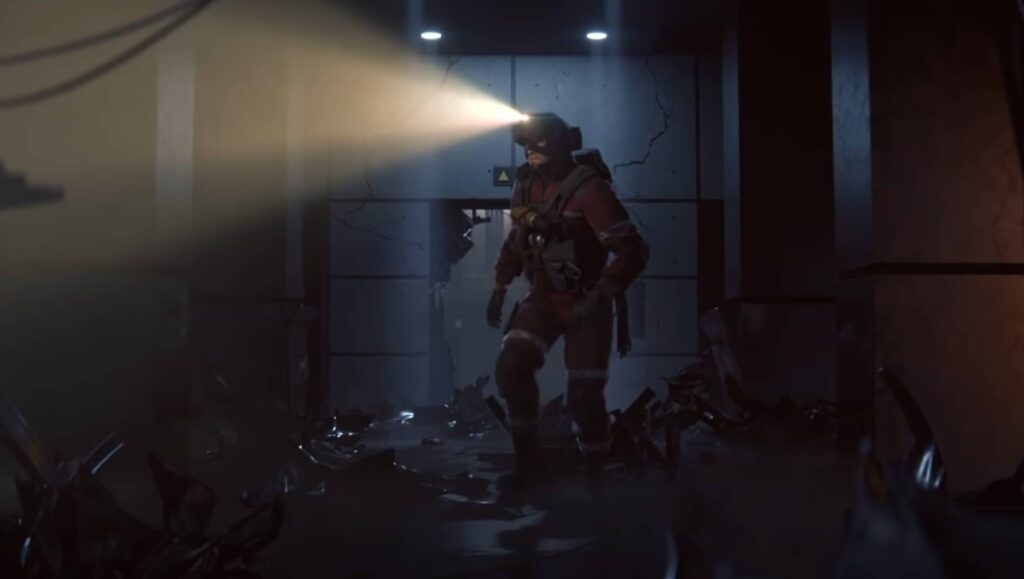
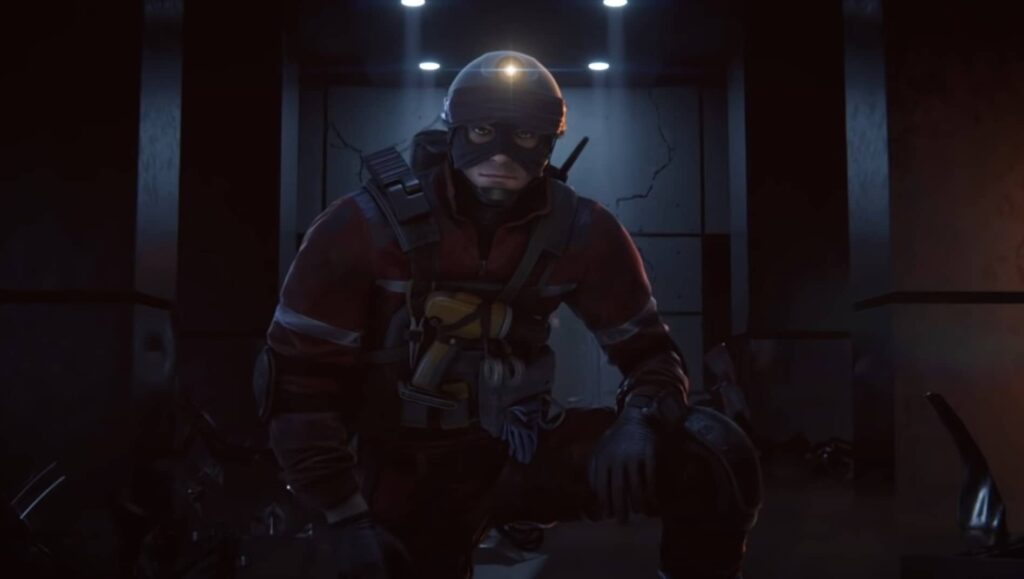
Ace is the 4th Hard breacher in the Rainbow Six Siege attacking roster.
As a Hard breacher, he is capable of opening holes in reinforced surfaces.
He offers opening bigger holes than Hibana while keeping her ranged breaching option.
On top of that, Ace is equipped with a powerful AK-12.
How can you not like Ace?
PROS:
- Ranged breaching possibility
- Powerful gun – AK12
CONS:
- Lesser wall breaching capability than Thermite
- Not optimal for opening reinforced hatches
OPERATOR GUIDE – ACE
TABLE OF CONTENT
ACE Utility Guide
What is the ability of Ace?
Ace, being a Hard Breacher, plays a pivotal role in the attack phase.
His primary objective is to create new pathways and angles into the objective, effectively disrupting the defenders from their cozy positions.
Ace wields three SELMA devices, his trump card for breaching. These gadgets are throwable, a defining characteristic of Ace’s toolkit.
They can be attached to both horizontal and vertical surfaces, requiring approximately 4 seconds to fuse. When placed on walls, each SELMA comes equipped with two charges that detonate sequentially.
CHARACTERISTICS OF SELMA:
- Ace has 3 SELMAs
- Each SELMA is a single-use device that does not recharge over time
- SELMA has 2 explosion sequences (it used to be 3 but got nerfed in the Y5S3.3 patch)
- No sequential explosions when deployed on horizontal surfaces, thus 2 SELMA are required for opening reinforced hatch!
- No range limit, but the trajectory of the throw has a drop-off – similar to Valkyrie’s camera
- The device starts fusing only when thrown on breachable surfaces
- SELMA can be picked up by Ace if it is deployed on an unbreachable surface or jammed by Mute Jammers
- Multiple SELMAs can be deployed simultaneously
How to use Ace’s utility?
Now, if there’s one key takeaway from this guide, it’s this:
Always aim to create an opening large enough for your teammates to pass through.
Let me break it down for you:
One charge grants you a peephole, perfect for scouting the other side but not ideal for traversal.
Two charges create a crouch or vaulting hole. Keep in mind that crouching is slower, and vaulting locks you into an animation.
The crux of the matter lies in crafting that 3-charge hole; it’s absolutely critical as it keeps your team’s options wide open.
USE RANGED BREACHING
Ace’s ace in the hole, pun intended, is his long-range breaching ability.
He can breach walls and hatches without ever setting foot inside the building. In today’s fast-paced Rainbow Six Siege meta, that’s a game-changing advantage.
For instance, consider the top-floor closet on Oregon. With Ace, there’s no need to risk crossing defender-held doorways, dodging traps within the closet, or falling victim to C4 from below. You can perform it all from the safety of the balcony.
NOT OPTIMAL FOR HATCHES
However, when it comes to hatches, Ace isn’t your go-to operator. Breaching a reinforced hatch requires two SELMAs, and placing them horizontally won’t trigger the second charge. In such situations, it’s advisable to either request a teammate with a universal Hard Breach gadget or consider picking Hibana instead.
DEALING WITH “WALL TRICKING”
Let’s not overlook the challenge of dealing with “Bandit tricking” by Kaid and Bandit.
Here’s the game plan with Ace:
First, give your support players some time to deal with any electrified gadgets already mounted on the wall.
They can employ EMPs, Kali’s lances, special drones, or other tools to neutralize these devices. Trust your team to work their magic.
Now, if the wall you’re targeting consists of two panels (which is often the case for critical walls), here’s a nifty maneuver.
Toss two SELMAs, one at each panel, in quick succession. This tactic renders it impossible for Bandit to simultaneously trick both walls, ensuring that at least one panel will be breached. While Kaid could theoretically trick both walls, he would need impeccable timing to place his Electroclaw before Ace deploys his SELMAs, owing to the activation times of both devices.
Bear in mind that both Electroclaws and SELMAs take approximately 4 seconds to activate, so impeccable timing is key. By coordinating with your team and employing this strategy, you can outmaneuver Bandit and Kaid and open that wall like a seasoned pro.
Synergies with other operators:
In Rainbow Six Siege, the ability to breach reinforced surfaces often stands as the defining factor between victory and defeat during an attack. As such, lending unwavering support to your Hard Breacher should be your team’s primary objective right from the start of the round.
Here are the key Hard Breacher support operators:
- Thatcher
Temporarily disables all electronic devices within the range of his EMP grenades. - Kali
Destroys devices located within the line of sight of her LV sniper rifle shots. - Maverick
Can make holes in walls to destroy Breach denial gadgets and also prevent active “Bandit tricking” - Twitch, Brava, and Flores
Utilize drones equipped with gadgets that can effectively deal with Breach Denial devices.
In addition to these primary support operators, there are also situational support options to consider:
- Soft Breachers (Buck, Sledge, Ash, Zofia or Ram)
Capable of creating openings in destructible ceilings or floors, potentially granting a direct line of sight to Breach Denial gadgets or thwarting Bandit’s trick attempts. - IQ
Similar to Soft Breachers, IQ can identify defenders’ utility through penetrable surfaces in close proximity. This ability can be invaluable for locating concealed devices, especially when dealing with elusive gadgets like Kaid’s Electroclaws. - Frag Grenades
A well-thrown frag grenade through drone holes can obliterate gadgets in close proximity. This tactic is particularly useful when a drone hole is conveniently positioned next to a reinforced wall. - Capitao
His fire bolts possess the unique ability to deter active Bandit tricking, especially when a drone hole is strategically placed adjacent to the reinforced wall.
Countered by Ace:
Ace’s primary role revolves around countering reinforced structures, making him an invaluable asset in various scenarios.
Beyond simply targeting reinforced walls and hatches, Ace also excels at neutralizing Mira’s Black Mirrors.
In fact, when it comes to this particular task, both Ace and Hibana stand out as the foremost options among the Hard Breacher roster. This distinction arises from their long-range breaching capabilities, which enable them to effectively disable Mira’s Black Mirrors, creating opportunities for their team.
Counters to Ace:
On the other side of the coin, Ace is not without his own set of challenges and counters that defenders can employ to thwart his breach attempts. It’s essential to be aware of these potential obstacles and plan accordingly.
First and foremost, keep an eye out for Bandit and Kaid, two defenders known for their expertise in disrupting hard breaches. For a deeper dive into their wall-tricking techniques, I recommend checking out my recent video that delves into the Bandit vs. Kaid duel.
But Bandit and Kaid are not the only obstacles Ace may encounter. Here are several other counters that can pose a threat to his breach strategy:
- Mute: Mute’s jammers can effectively jam Ace’s charges as long as the jammer remains intact.
- Explosives: Defenders might resort to explosives like nitro cells or impact grenades to create openings above reinforcements, allowing them to target and destroy Ace’s SELMAs.
- Maestro’s Evil Eyes: While Maestro’s Evil Eyes can shoot down SELMAs, it’s worth noting that this counter has become less prevalent due to Maestro’s declining pick rate in recent times.
- Jager’s ADS and Wamai’s Mag-nets: Both Jager and Wamai possess devices that can intercept and neutralize SELMAs within their effective range, making it crucial for Ace to strategize carefully.
- Shooting the Cylinder: Defenders also have the option to shoot the cylinder in the middle of the charge to disable it. However, this maneuver requires precision aiming and can be challenging to execute successfully.
It’s worth mentioning that, fortunately for Ace, many of these counters have become less common in the current meta. Defenders are often preoccupied with other priorities, such as aggressive peeking and roaming across the map. Nonetheless, being mindful of these potential obstacles and adapting your approach accordingly is key to mastering Ace’s role in Rainbow Six Siege.
Ace Playstyle Guide
Playstyle role of Ace
SUPPORT AS A HARD BREACHER
When it comes to playing as Ace, adopting the right playstyle can significantly impact your team’s success. Let’s break down how to effectively navigate Ace’s role throughout a round.
Starting the Round:
At the outset of a round, Ace should embrace a supportive role. As a Hard Breacher, your primary objective isn’t to engage in early gunfights. Instead, exercise caution until you’ve utilized your SELMAs to breach essential walls or hatches.
Transitioning to Fragging:
After deploying your SELMAs for breaching, Ace can transition into a more aggressive role. This shift holds true for many operators in the game – once your primary role is fulfilled, you can assume the role of a fragger.
My Preferred Ace Playstyle:
Here’s my preferred approach when playing as Ace:
- I carefully choose the safest or closest spawn point based on the objective site.
- During the initial moments of the action phase, I use my drone to scout the entry point for our entry fragger. This not only increases their chances of survival but also ensures my safety as a hard breacher.
- I approach the building cautiously, remaining vigilant for potential late spawn peeks from defenders.
- To facilitate the breach, I focus on securing map control. For common runout locations, I often deploy claymores to prevent surprise attacks later in the round.
- Once the wall is successfully breached, I become more assertive and proactive. Depending on the situation, I may also choose to rotate and apply pressure in other areas of the map.
Embrace the Defuser Role:
Taking on the responsibility of carrying the defuser as Ace is a prudent choice, particularly when playing in solo queue. This ensures that you have control over the defuser, minimizing the risk of potential mishandling by teammates. Trust yourself in this pivotal role.
Communication is Key:
Never underestimate the power of effective communication with your team. If you intend to breach vital walls or hatches, coordinate with your teammates to secure the necessary support. For instance, if you’re attacking the basement on Oregon and lack Hard Breach support on your team, don’t hesitate to request it.
Difficulty of Ace – MEDIUM
Let’s delve into the complexity of playing Ace in Rainbow Six Siege. Ace falls within the medium difficulty category, presenting a mix of both straightforward and challenging aspects that players need to consider.
The Easy Aspects:
Ace’s ease of use predominantly stems from his long-range breaching capability, a characteristic we’ve already explored.
Compared to Thermite, Ace enjoys a notable advantage in terms of safety when deploying his SELMAs. This means that he can breach reinforced walls with less vulnerability to counterattacks.
The Challenging Aspects:
Conversely, the challenging facet of mastering Ace lies in the mechanical skill required to accurately throw SELMAs.
This challenge becomes more pronounced as you move farther away from the surface, primarily due to the SELMAs’ drop-off effect.
Moreover, being a Hard Breacher in Rainbow Six Siege comes with significant expectations and responsibilities.
If you happen to meet an untimely demise before fulfilling your breaching task, your team may find themselves in a precarious situation.
This highlights the importance of positioning, timing, and teamwork when playing as Ace, as a single mistake can have severe consequences for your entire squad.
ACE Loadout Guide
Available loadout for Ace
| Primary Weapons | AK-12 | M1014 | – |
| Secondary Weapons | P9 | – | – |
| Universal Gadgets | Claymore | Breaching Charge | – |
suggested loadout for Ace
| Primary Weapon | Barrel | Grip | Sight |
|---|---|---|---|
| AK-12 | Flash hider | Vertical Grip | 1.5x |
| Secondary Weapon | Barrel | Grip | Sight |
|---|---|---|---|
| P9 | Muzzle Brake | – | – |
| Universal Gadget |
|---|
| Claymore |
Why such loadout for Ace?
When it comes to outfitting Ace for the battlefield in Rainbow Six Siege, there are some clear choices that can elevate his performance. Let’s explore the best loadout for Ace, from his primary weapon to his universal gadget.
Primary Weapons:
For Ace’s primary weapon, the AK-12 stands out as the undisputed choice. It’s widely regarded as one of the finest firearms in the game, offering exceptional Time To Kill (TTK), manageable recoil, and the flexibility of various scope attachments.
To truly maximize the AK-12’s potential, attach a flash hider to enhance recoil control. When it comes to the grip, the vertical grip is the preferred option as it further reduces recoil.
While the angled grip used to be a viable choice for weapons with low recoil or frag-focused operators, recent nerfs have made the vertical grip the more prudent selection. Opt for the 1.5x scope, which strikes an excellent balance, providing enhanced visibility for both long-range engagements and close-quarter combat without obstructing your field of view excessively.
Secondary Weapon:
Ace has only one secondary option, the P9 pistol. When configuring the P9, go for the muzzle brake attachment to minimize recoil.
While the pistol primarily serves as a backup for situations when you run out of AK-12 ammunition, prioritizing stability (muzzle brake) over stealth (suppressor) is the key consideration here.
Secondary Gadget:
As for Ace’s universal gadget, claymores are the recommended choice. As a hard breacher, having additional security against common runouts and flanks while dealing with breaches is invaluable. While breaching charges can be useful in specific scenarios, it’s worth noting that many attackers possess soft-breaching capabilities. Therefore, consider equipping breaching charges only when you’re confident they’ll be necessary to open soft walls or hatches, and when no other attacker on your team can fulfill this role.
In summary, Ace’s optimal loadout comprises the AK-12 with a flash hider, vertical grip, and 1.5x scope, the P9 with a muzzle brake attachment, and claymores to enhance his overall effectiveness and security on the battlefield.
More Content:
Rainbow Six Siege Operator Guide: How To Play Ace in 2023?
https://youtu.be/x32EyVrg8Jw Rainbow Six Siege Operator Guide:How To Play Ace in 2023? Ace is the 4th Hard breacher in the Rainbow Six Siege attacking roster.As a Hard breacher, he is capable…