Introduction
Rainbow Six Siege is a game with an extremely high number of variables, hence below article is not meant to be used as a set stone guide for every map and objective.
Instead, consider this guide as an overview mainly new players on how to approach attacking rounds as a team.
Attacking is in my opinion harder part of Rainbow Six Siege than defending. Lack of coordination and self-confidence will be exposed on the attack, especially when facing an organized defensive team.
We will split this article into the following sections:
Operators setup
Primary roles – 1-3
- Hard breacher – 1-2
- Hard breach support – 0-2

Hard breachers and their support are two essential components to winning attacks in Rainbow Six Siege.
Some objectives may not depend on them heavily, but constantly having hard breacher on your roster will increase the consistency of your team’s wins while attacking.
By bringing support, your squad decreases dependency on defenders’ choices, thus adding a further constant to your squad’s effectiveness.
Secondary roles – 2-3
I would advise considering bringing:
- Soft breacher – 1-2
- Other secondary utility – 0-2
All non-primary roles can be considered as secondary on the attack in Rainbow Six Siege.
Does it mean those operators are not needed for winning an attack? No, absolutely not.
Sometimes secondary roles can have an equally (or even more significant) impact on the round as Hard breacher had. Those roles are, however, more situational and do not necessarily impact every round. Their necessity depends heavily on:
- Map & expected objective
- Team’s tactics & preferences
I would suggest for most maps to bring a Soft breacher. This tip is especially true for maps with significant vertical destruction available, i.e., Chalet, Border or Consulate.
Once you’ve filled Primary roles and Soft breaching (whenever necessary), fill in remaining spots depending on your team’s needs and your personal preferences.
I highly recommend discussing operators’ selection every round as it will ensure everyone’s on the same page.
Goals on Offense
The goal of attacking squad is to either kill the entire defender’s team or to complete the objective within a given time frame (3 and 3:30 minutes depending on game mode).

The objective part depends on the match type as they split into 3 types:
- HostageThe objective is to capture hostage and escort him to a safe zone outside of the objective building.This match type is the least balanced one, and once attackers grabbed hostage, the odds of defenders “retaking” him are slim.
- Secure AreaAttackers have to hold the position in a room with a bio-hazard container, for 10 consecutive seconds.Securing happens only if no defender is present within the objective room, in which case objective is contested.This mode is more balanced than a hostage but less than Bomb.
- BombThe most balanced match type in Rainbow Six Siege. It is currently the only type available in Ranked matches, as well as in Pro League.The objective for attackers is to plant a defuser in either objective room – every objective has 2 bombsites.After planting defuser, defenders have 45 seconds to disable defuser.
Round phases
Preparation phase
The main objectives of this phase are:
- Locate the objective site
- save the drone
- leave prep drone at a useful spot for the action phase

The first aspect of this phase is usually known, but too many players do not save their drones by bringing them to objective or trying to identify defenders.
Remember, just one drone needs to find the objective.
Leave the preparation phase drone so that you can use it to scan your entry point. Or in locations where your team can get useful intel during later stages of the round.
Bonus tasks:
- identify defensive operators
- understand defensive setup
- locate roamer’s positioning
- spawn peek alert
SPAWN POINTS
Attackers should decide on a spawn point depending on the task they intend to fill in and the entry point they want to use.
There is no point spawning on the Northside of the objective as a Thermite if you are planning to make “a big f*cking hole” in a wall on Southside of the map.
Additionally, bear in mind any potential spawn peeks. If you are confident in challenging spawn peeking defender, then go ahead.
However, in case you are not confident enough or have a crucial role in your team’s tactic, then choosing a safe spawn point is probably a better option.
Approach phase
Once spawned, your main task will be reaching an entry point or breaching area (depending on your role).
Do not run like a headless chicken, instead watch out for spawn peeks. Defenders usually attempt spawn peeks from broken doors and windows.
In case you are a Hard breacher or another important attacker, jump on a drone for the first few seconds.
Most of the spawn peeks can be avoided by merely droning for the initial 10-15 seconds!
Most of the spawn peeks can be avoided by merely droning for the initial 10-15 seconds!
Breach & Clear Phase
Once the entry point or breaching area are reached, your team will frequently split into two groups:
- Breaching – Hard breachers and their supporting cast
- Map Clearing – remaining operators
During this phase, the main objective is to gain an advantage before the final push on objective happens, in both on-site meaning by breaching the site and off-site way by gaining map control.
Objective push phase
The final stage of the attack is pushing the objective.
During this phase, the entire team should collapse on remaining defenders present on-site and attempt completing an objective.
Remember, every round in Rainbow Six Siege is not solely Team Deathmatch, you can also win by completing the objective of the round.
If you wish to learn more about phases during the attack, please visit below guide:
Droning
Intel is the king in Rainbow Six Siege.
Please, do yourself a favor and utilize drones you have at your disposal!
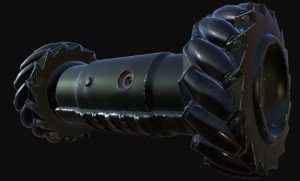
Droning is not the flashiest part of the attack, nor does it show on scoreboard, but you cannot win rounds consistently on attack of you are not using your drones effectively.
Droning should be performed both during the preparation and action phases. Team up with other attacker and drone for each other to raise your efficiency.
Check our Droning guide to take your droning game to a higher level:
Clearing Roamers
Roamer is a defender located off-site. This defender will focus on preventing you from progressing towards the objective or flanking your team when you expect the least.
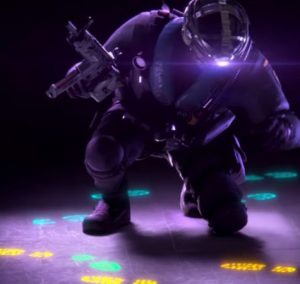
Roamers are one of the hardest aspects to deal with, especially at the beginning of your journey with Rainbow Six Siege.
The aspect I see people struggling the most with when it comes to dealing with roamers is deciding whether you do it or not as a team, then acting accordingly.
If you decide to hunt roamers, dedicate multiple people for that task.
Make sure you bring the right tools for the job and act decisively.
However, if you decide to ignore roamers, push the site decisively, and have a dedicated flank watch.
Judging which option is better will come with time and experience.
Judging which option is better will come with time and experience.
To learn more about the topic of roam hunting, please visit the below guide:
Universal Utility
- Frag grenades – 0-2Frags are a great counter to anchors, especially when Jäger is not present.It can be used to get kills through penetrable surfaces like floors and to destroy defenders’ utility.

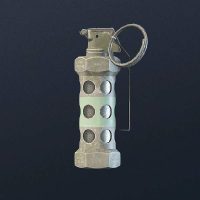
- Stun grenades – 1-2An extremely versatile tool for attackers that can help mainly with:
- “burning” ADS – by using its charges on stun grenade to use other utility afterward
- flashing defender – increases odds of winning a gunfight
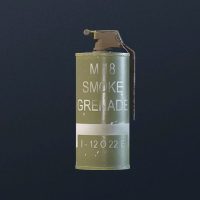
- Smoke grenades – 1-2Especially useful at bomb game mode to obscure defenders’ vision and increase odds of successfully planting defuser.Otherwise, beneficial to cut off visual on certain angles and to provide cover for Glaz.
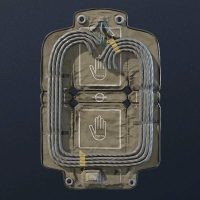
- Breaching charge – 0-1I find breaching charges as the least useful universal gadget available to attackers in Rainbow Six Siege.They can come useful for opening new angles vertically or horizontally but are replaceable by unique utility available to multiple operators.If needed, bring 1 operator with breach charges.
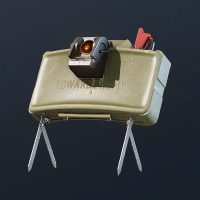
- Claymore – 0-1Useful for preventing runouts and flanks.
Unless specific spots need to be covered with multiple claymores, having more than 1 claymore on an attack is usually not that necessary.
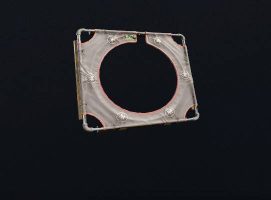
- Hard Breach Charge– 0-1Allows attackers to breach through reinforced surfaces with a universal gadget.
Creates a hole smaller than that of Ace or Thermite, but is a nice addition for attackers who were previously unpopular choices.
Unique Utility
This list intends to give you a default priority list that you can use when deciding on using unique utility.
In case you want to learn more about specific operators and how to use their utility optimally, we recommend visiting our guides section dedicated to operators.
HARD BREACHER
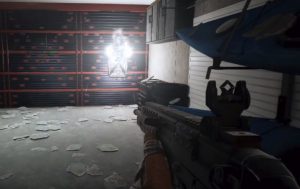
- Walls leading to exterior area
Usually the most powerful angle and entry point to the objective that attackers can create.
- Hatches above objective
Very useful for creating vertical pressure onto the objective room. In many cases forces defenders to relocate to less favorable positions. - Objective walls close to building entrances
Such angles are easily accessible to attackers and in most cases hard to flank for defenders. - Other walls & hatches
Increasing the number of entries & angles available for attackers is usually beneficial. Watch out, however, not to open an angle you won’t need that could potentially backfire later during the round
Hard Breach Support
The primary objective of using any utility should be to help hard breacher with opening vital angles to the objective.
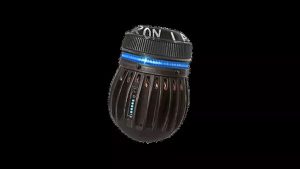
However, once this main attackers’ task is completed, operators from this role group can focus on dispatching various defensive utilities, usually placed at:
- Objective entrance
- Choke points
stairways & narrow corridors - Breached walls/hatches
Soft Breacher
Soft breachers specialize and should focus on granting vertical control to attacking team
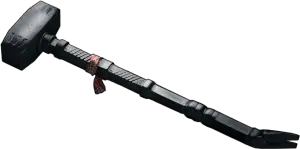
Such holes opening can happen from above or under defenders to force defenders to either move or challenge attackers from an unfavorable position.
Their breaching capability can also be used horizontally to create new angles and avenues to traverse the map.
Other roles
Regardless of operator available from other groups, utility can be effective when used in following situations:
- building entry
- roam clear
- pushing anchors
- completing objective
