PROs:
- Simple to play
- Passive utility
- AR on defense
CONS:
- The long cooldown on Kona Stations
- Does not excel at anything in particular
Thunderbird
Defensive operator
Organization
Unaffiliated
Availability
DLC Y6S2
Armor Rating
Medium
Speed Rating
Medium
THUNDERBIRD GUIDE:
Table of Content
Biography
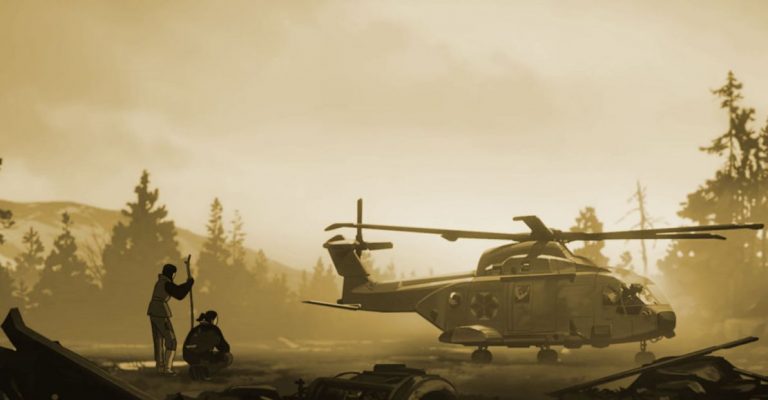
Born in the Nakoda Territories of Saskatchewan, Thunderbird’s first lesson from her mother was the importance of community. Her first introduction to engines was at her father’s knee, he taught her to understand helicopters before she learned to fly one.
Always eager for new experiences she enrolled in the Bold Eagle Program at seventeen where she excelled in basic military training. While benefitting from the guidance of community elders and indigenous instructors, this program sparked an interest in preserving and protecting what she loved most, the Nakoda way of life.
OPERATOR VIDEO
After joining the Canadian Armed Forces Thunderbird worked her way through flight school. Remembering her mother’s emphasis on the value of balance, Thunderbird felt since the CAF taught her to take lives, she should also learn how to save them. She completed her Basic Medical Training (CFHSTC) and continued to serve in the CAF as an Aerial Medic.
Operator guide
Detailed information on how to play Thunderbird
Utility
What is Thunderbird utility?

What is the role of Kona Stations?
Kona stations characteristics:
- 3 Stations available
- All stations are available from the round start
- Kona stations have 2 meters range. Station also requires a line of sight
- To receive a heal, a player must be within adequate coverage at the charge release time
- Station heals both allies and enemies
- On top of healing, the station revives downed players (again, both attackers and defenders) within its range
- Each station heals for 30 hp
- The station can overheal players, but it does not release a charge for players with full HP. The overheal amount can be up to 30hp above the maximum HP available to the operator.I.e., a Rook with armor on can be overhealed to 174hp (has to be missing at least 1hp)!
- Thunderbird can deploy the utility on flat horizontal surfaces, such as floors, desks, etc.
- Thunderbird is the only operator who can pick up Kona stations
- Stations do not have usage limits, besides the round timer
- If multiple players are present within Kona’s range, the station will prioritize the player with the least health.Similarly, if both attacker and defender are within the range, Kona will heal the defender on the priority
- Full deployment of a station takes roughly 3 seconds. After the animation of activation is completed, the station will have 1 charge available.
- The cooldown on the Kona station charge is 38 seconds.
- Kona’s charges do not stack. As a result, the cooldown reset will not start until the station discharges available healing!
- When the Thunderbird operator picks up a station, the cooldown timer resets
- Kona stations are easily destroyed with any source of damage
Kona Stations vs Doc's stim
- Kona stations are passive utilityThunderbird can place Kona stations and go roaming while still providing utility to the team on the objective site – similarly to how Jager operates.Hence, Thunderbird doesn’t need to play around Kona stations during the round. Instead, she can focus on her designated role.As much as it is a pro for Thunderbird, it can also be a con depending on the situation during the round – sometimes your anchoring teammate will be forced to change their spot and won’t have access to station(s)The passive nature of Thunderbird’s tool means that she can die early in the round and still provide support to the team.
- Stations are more proactive utility, while Doc’s stim shots are reactiveThe implication is that you should know your team’s strategy and the strong positions they will hold during the round before you place your Konas. There is, of course, the potential for adjusting Kona stations locations during the action phase, but that’s not very likely to happen due to associated risks.On the other hand, Doc can see how the situation develops during the round and adjust accordingly.
How to use utility?

Placement of Kona stations:
- Is this location easily accessible to enemies?You do not want the attacking team’s health to be boosted with your own utility.So if you are leaving a station for your roamers, bear in mind the potential consequences of such choice!
- Will attackers have a difficult time finding a direct line of sight?Similarly to placing other defensive utility (like Jager’s ADS or Mute’s Jammers), you do not want to leave a station easily exposed to being shot by enemies. Therefore, you should place the station behind a cover on the objective, relative to where you expect your enemies to come from.
- Are my teammates going to play this position or have easy access to it during the round?You don’t want to leave Kona stations on objective where attackers can easily cut your teammates from accessing it.
- How important is this position for us to hold?That’s an important question when deciding on stacking Kona stations in one spot!Suppose a particular anchoring spot is vital to your strategy. In that case, you might want to leave 2 or even 3 stations for your anchors to secure it.Having a Mira setup that is vital to your strategy? Put Konas behind it!
COMBINE KONA WITH OTHER SUPPORT UTILITY!
- deployable shields – to prevent attackers from having a line of sight to Kona
- Jager’s ADS & Wamai’s Mag-nets – to prevent explosive projectiles from destroying your gadgets
Interactions
SYNERGIES
Counters:
Countered by:
- Explosives such as
- Frag grenades
- Operators’ unique utility, i.e., Ash Breaching rounds
- Bullets
- Twitch – Shock drones
- Kali – LV lances
- Zofia – Impact grenades
- Fuze – Cluster charges
- Zero – Argus cameras
- IQ – Electronics scanner detects stations
- Thatcher – EMP temporarily disables stations within its range
How to play -
Thunderbird
Playstyle
- advanced map knowledge
- mobility
- creativity
- good game sense
Difficulty
- Thunderbird’s utility is straightforward to use
- Passive utility means you can leave it and forget about it, or even die early in the round, and yet be helpful to your team
- Requires basic map knowledge
- Flexible in playstyle
Loadout guide - Thunderbird
Available options
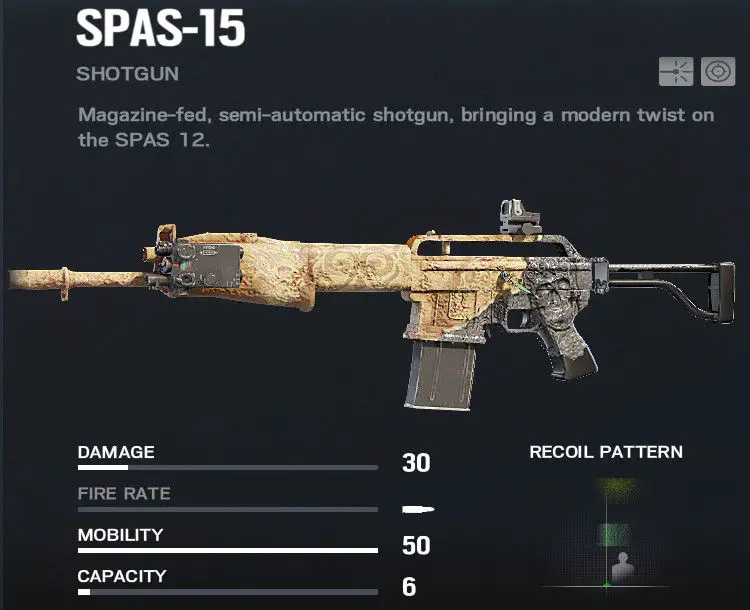
Primary weapons
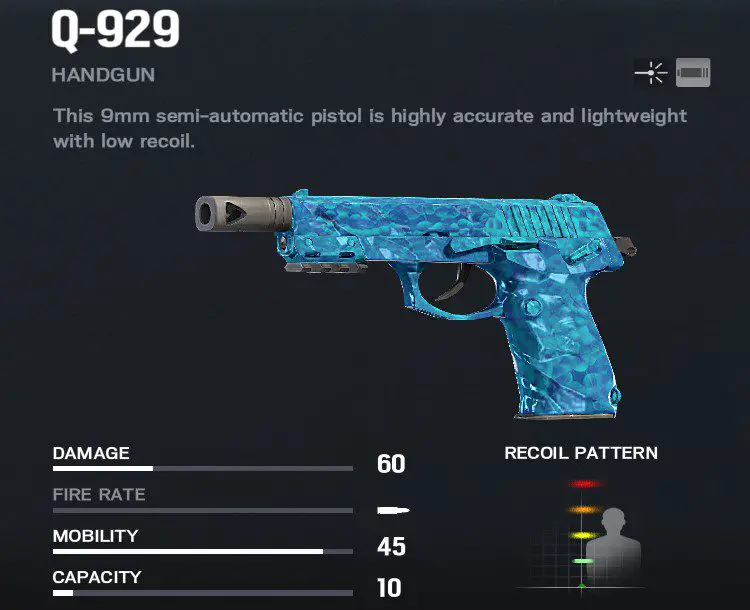
Secondary weapons

Universal gadgets
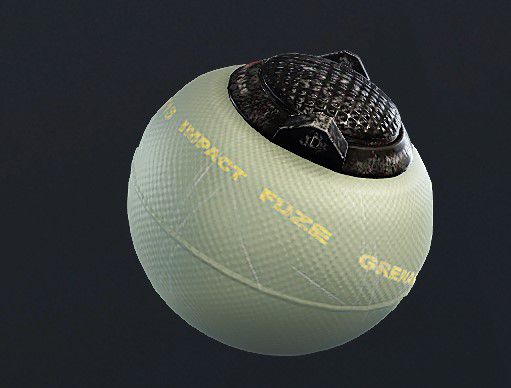
Impact grenade
A grenade exploding on impact. It is primarily used for opening holes in surfaces.

Nitro Cell
Throwable explosive, detonated remotely by the user.
Can be pre-placed or used similarly to grenades.
The best counter to Shield operators and preventing defuser plant.
Loadout suggestion
Loadout choices are an individual aspect, and rarely there is a “go-to” loadout in R6 Siege.
Sight choices are purely personal and depend on the player’s playstyle, map, even objective & specific role.
Please treat the below suggestion as what it is – our preferences.
We encourage you to experiment to find your setup.
Remember, just because something works for someone else, does not mean it has to and will work for you!
Suggested loadout:
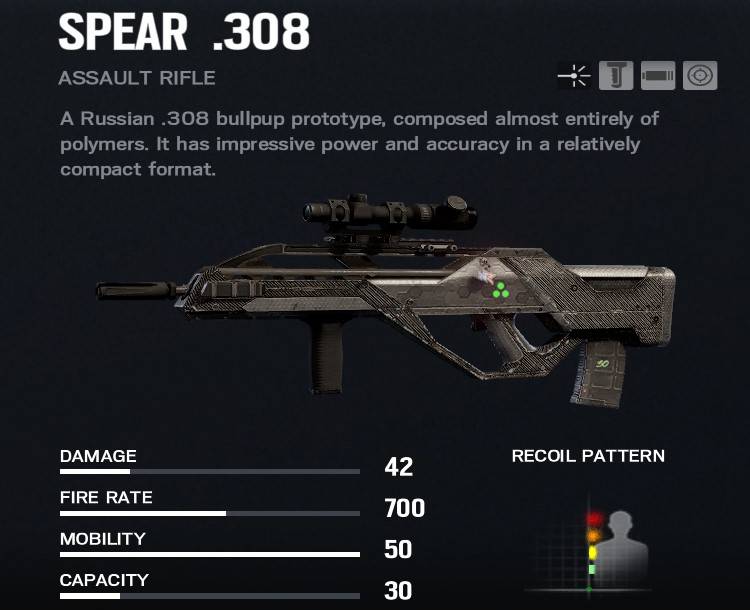
| Primary weapon | Barrel | Grip | Scope |
| SPEAR .308 | Flash hider | Vertical Grip | Reflex |
| Secondary weapon | Barrel | Grip | Scope |
| Bearing 9 | Flash Hider | N/A | Reflex |
| Gadget |
| Nitro Cell |
Why such loadout?
PRIMARY WEAPONS
SECONDARY WEAPONS
UNIVERSAL GADGETS
Both universal gadgets can serve Thunderbird well. Our suggestion is to check your team composition and decide based on team needs, as well as your preferred playstyle.
Impact grenades are great for opening rotation holes between sites when playing bomb objective. They can also help with opening a new route when roaming or an unpredictable line of sight.
We usually choose Nitro cells as they can serve a similar role to Impact grenades when needed. On top of that, C4 provides killing power to deal with shield operators or deny the defuser plant.
Community Videos -
Thunderbird
Other operators
Learn more about other operators in R6 Siege!


Or go to list of all available Guides