PROs:
- LMG with great Scope
- 3-armor
- Versatile loadout options
CONS:
- One speed operator
- Non-essential utility
- Not new player friendly
- Weak AR
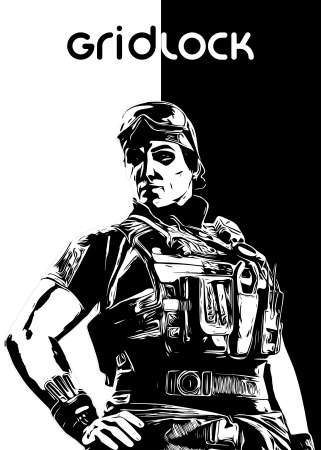
Gridlock
Offensive operator
- Flank watch
- Area denial
Organization
SASR
Availability
DLC Y4S1
Armor Rating
Heavy
Speed Rating
Slow
Biography
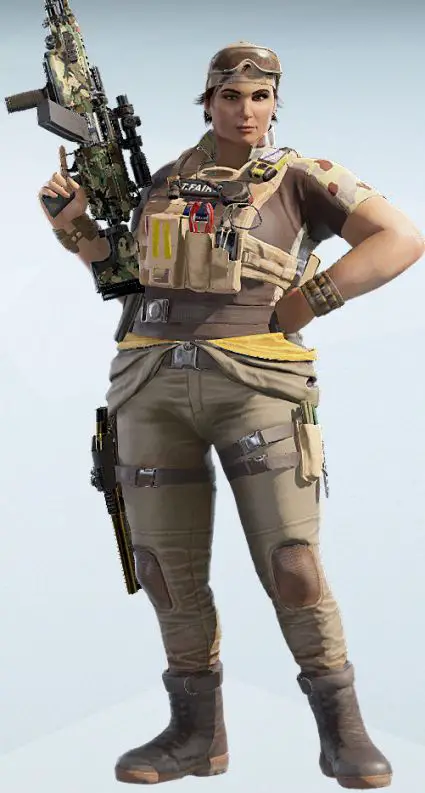
The eldest of five, Fairous has demonstrated leadership potential throughout her life. From an early age Fairous worked with engines and competed in robot championships. Her mechanic background was heavily influenced by her father, a military aircraft mechanic.
Fairous joined the Australian army reserves to further develop her mechanical engineering skills and to have access to the best equipment. After graduating from university she chose Army branch of the Australian Defense Force, where she honed her mechanical prowess.
Fairous also has expertise in a range of weapons, intelligence gathering and close protection duties, and has the ability to adapt to unexpected situations and remain calm in dangerous situations. This unique skill set made her an essential recruit into the SASR Mobility Platoon.
OPERATOR VIDEO

Fairous was awarded the National Emergency Medal for her part in saving firefighters. She has been offered lead positions but has repeatedly turned them down.
Operator guide
Detailed information on how to play Gridlock R6 Siege operator
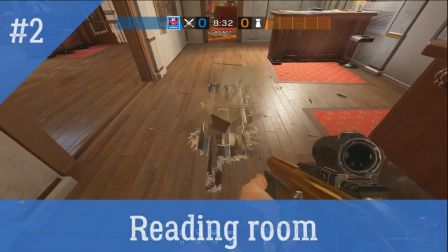
Caption title
Utility
What is the utility?
Rainbow Six Siege Gridlock’s Stingers are throwable “grenades” that once deployed serve as attackers’ form of Barbed Wires, with function from utility perspective similar to Nomad’s Airjabs – area denial and flank prevention.
- deals 10 damage
- slows down impacted operator
- makes noise
- during the deployment phaseDestroying a central patch before deployment of additional traps will stop the process.If the deployment is in process, defenders will have to destroy the central patch and any additional patches to prevent a further generation of Stingers.
- once the deployment is completedDestroying Stingers results in creating noise and is likely to warn nearby attackers.
How to use utility?

- hold the button – allows precise aiming as Tori will throw Stinger upon release of the button
- release immediately – to throw the trap at a centered location
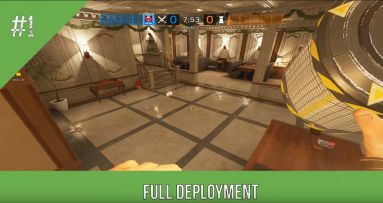
- retake objective
- disable defuser
- use rotations
defenders location & available routes
When placing traps, you should always consider where defenders currently are and which paths they can use.Try to plan the course of action ahead of time. Place traps to help you cover angle you do not intend to hold or that will give you an advantage if you decide to do so.maximum area coverage
Bear in mind spawning mechanic and hexagonal shape when throwing your trap.Each Stinger can deploy up to 19 patches, so you want to make sure you can get the best coverage out of your trap.ability to capitalize with a kill on the trap
So many times, I have seen attackers leaving traps and then totally forgetting about them, without being present anywhere close to Stingers.When it comes to flank prevention, Gridlock R6 operator’s traps should be considered as flank watch enhancement and not a sole way of preventing it.Unlike Claymores, triggering Gridlock’s utility does not guarantee to injure or kill caught defender. Therefore, you need someone to be relatively close to traps to gain an advantage.Capitalizing on traps placed in objective as an area denial tool is much easier. This is due to the objective being the center of the attention by the time you place Trax.force defenders to expose themselves
As mentioned defenders can shoot your traps during deployment to prevent further spawning of patches. Consider angles available to the closest defender(s) when throwing Stinger and try to place it in a way that defender has to get out of cover to get LoS on your utility.
destroy traps
By choosing such action defenders risk notifying nearby attackers about upcoming flank, thus eliminating the element of surprise. The surprise is one of the most significant advantages flanking operator usually hastrigger the trap
Such an outcome will result in both damage to a defender and making noise, which may notify nearby attackersabort or choose a different route
This might be the right course of action for the flanking defender. Continuing flank, regardless of risks, may result in easy death. Instead, flanker may choose another route, if available.Likewise, anchoring defender may choose different entrances to objective or create such.
Advanced usage:
Using Stingers as bait.
Trap vertical deployment.
Interactions
SYNERGIES
- flank watch
- defuser cover
Counters:
- Flanks
- Rotations
- Retakes
Countered by:
Stingers can be destroyed by:
shooting down
One bullet destroys patch.
Such counter results in noise creation even when gun uses a suppressorthrowing explosives at them
1 Nitro Cell or Impact grenade may destroy most (and sometimes even all) deployed patches. It is the fastest, but also the loudest way of destroying Stingers- hitting patch with melee
Trap does not deal damage when destroyed with melee, but still makes some noise that may alert nearby attackers
- Jäger‘s ADS
- Mute‘s Signal Disruptors
How to play -
Gridlock R6 Siege
Playstyle

DRONE FOR ENTRY FRAGGERS
FLUIDITY OF PLAYSTYLES
- entry to the building has been made
- your team has established sufficient map control
- you have used your utility
Difficulty
- three armor & one-speed operator
- mechanically simple utility
- requires map knowledge and good game sense
- non-vital utility function
Loadout guide -
Gridlock R6 Siege
Available options
Primary weapons

Secondary weapons

Universal gadgets

Breaching charge
The charge allows opening a hole in unreinforced walls, hatches, and barricades.

Smoke grenade
Grenade releasing a cloud of smoke, which is almost impossible to see through. It gives the advantage to players by preventing line of sight.
Loadout suggestion
Loadout choices are an individual aspect, and rarely there is a “go-to” loadout in R6 Siege.
Sight choices are purely personal and depend on the player’s playstyle, map, even objective & specific role.
Please treat the below suggestion as what it is – our preferences.
We encourage you to experiment to find your setup.
Remember, just because something works for someone else, does not mean it has to and will work for you!
Suggested loadout:
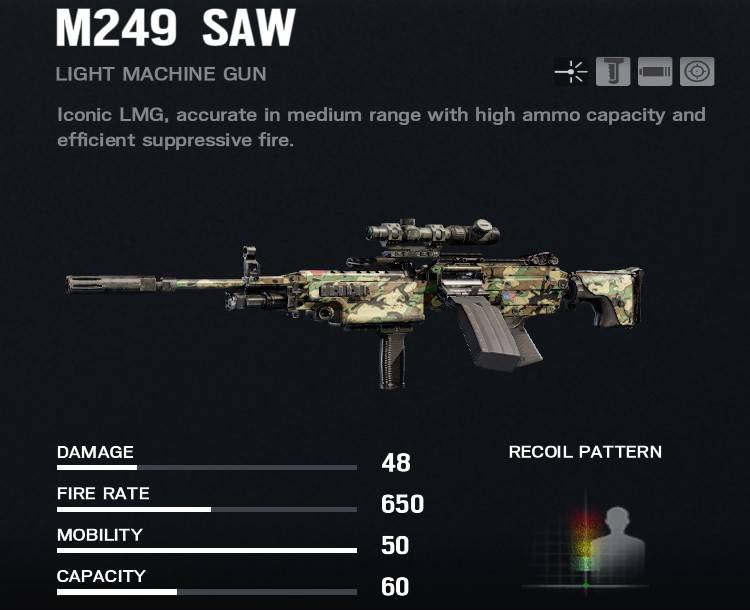
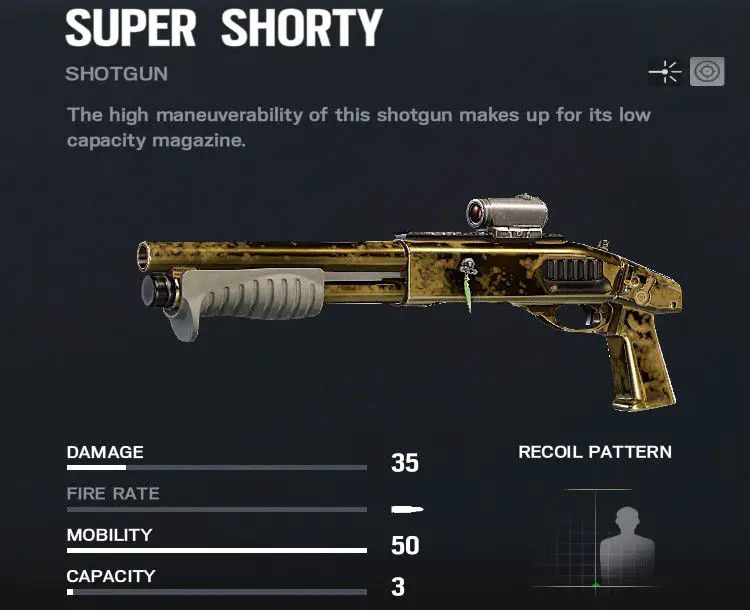
| Primary weapon | Barrel | Grip | Scope |
| M249 SAW | Compensator | Vertical grip | 2.0x scope |
| Secondary weapon | Barrel | Grip | Scope |
| Super Shorty | N/A | N/A | Red dot |
| Gadget |
| Smoke grenade |
Why such loadout?
PRIMARY WEAPONS
SECONDARY WEAPON & UNIVERSAL UTILITY
Community Videos -
Gridlock R6 Siege
Instructional videos
Gameplay showcases
Other operators
Learn more about other operators in Rainbow Six Siege!


Or go to list of all available R6 Siege Guides