PROs:
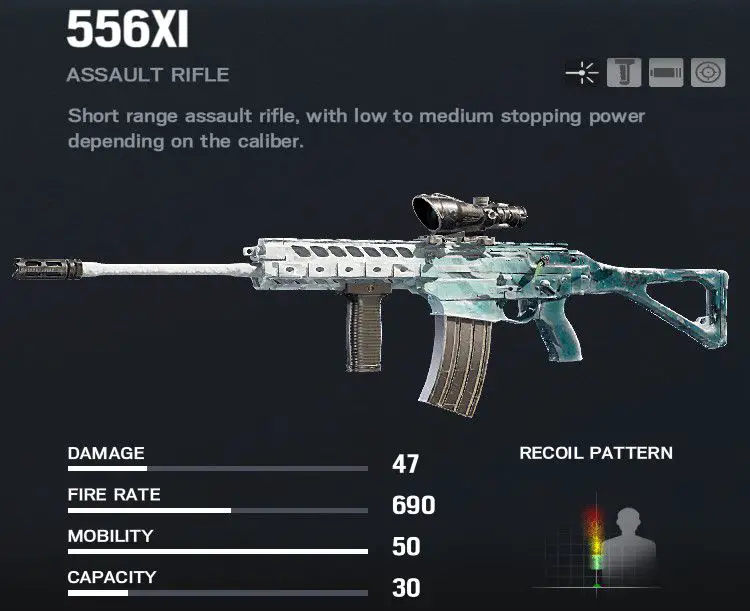
- Good gun – 556xi
- Vital utility
- Highest wall breaching potential from Hard breachers
- Access to Smoke grenades
CONS:
- Lesser hatch opening capacity than Hibana (2vs3)
- Melee range required for utility – riskier
Thermite
Offensive operator
Thermite R6 Siege operator is one of the most crucial attackers.
His role is Hard breacher, meaning he provides a possibility to create angles and entrance points to the objective even through reinforcements.
Organization
FBI
Availability
Release
Armor Rating
Medium
Speed Rating
Medium
Biography
Trace joined the Marines after high school, serving two tours in Iraq.
After his discharge, he used his GI Bill money to put himself through college at Texas A&M and earned a Bachelor Degree of Science in Chemistry.
He then joined the FBI. After four years as a field agent, he transferred to FBI SWAT
OPERATOR VIDEO

Operator guide
Detailed information on how to play Thermite R6 Siege

Utility
What is the utility?
His utility allows him to open the biggest opening in walls but gives him less flexibility in opening hatches and murder holes than in the case of other Hard breachers.
Hard Breachers differences
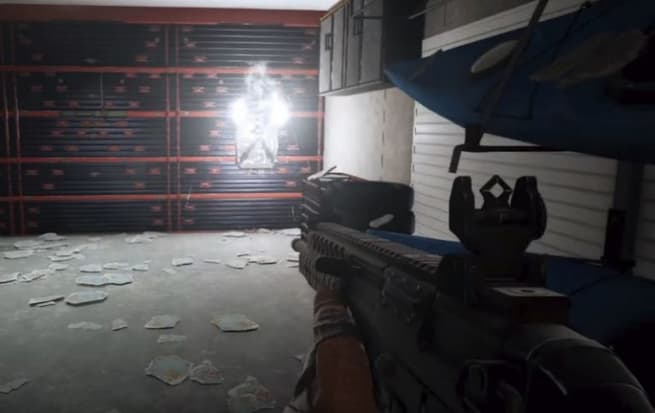
- The bigger size of the opening
In R6 Siege Thermite’s single charge creates a bigger opening in the wall than all three X-kairos of Hibana. Hibana’s three charges create an opening tall enough for fully extended Montagne to pass, while Exothermic charge creates a broader hole in the wall
- Can remove placed charges
Unlike Hibana, Thermite is capable of removing set charges. This characteristic helps him with the Breach denial game.
How to use utility?

- Team composition
Operator selection plays an essential role in indicating optimal usage of the R6 Siege Thermite utility.
The main factor from a roster perspective is the number of Hard breachers available.
- 1 Hard breacher – ThermiteFocus on vital walls or hatches
- 2 Hard breachers – Hibana + ThermiteBy default, Thermite should focus on opening walls, while Hibana on trap doors.
- 2 Hard breachers – Maverick + ThermiteBy default, consider your situation as if you were the sole hard breacher. Maverick’s breaching capacity is limited from the perspective of the size of openings he can create.
- 3 Hard breachersSuch a scenario gives enormous flexibility and can often be overkill from a breaching perspective.I would recommend approaching this option as two hard breachers, with Maverick being Breach support.
Objective
Each objective has its own strong and weak points.
For some objectives, you may need to focus mainly on opening:
- WallsThis applies to all objectives based on the top floor as hatches cannot be reinforced (besides crazy runouts)Focus primarily on walls leading to exteriors. If the objective does not provide such, then pick a reinforced wall that will provide the most significant advantage to your squad.Example:
Clubhouse – CCTV & Cash room
- Hatch(es)Usually, objectives located on the bottom or ground floor have hatches that can give the attacking squad a significant advantage.Example:
Chalet – Kitchen and Trophy Room
- Split efforts – both wall(s) and hatch(es)For some objectives, you will benefit most from opening both walls and hatches to deny locations and angles from defenders. In such a scenario, it is beneficial to bring 2 Hard breachers.Example:Chalet – Wine Cellar and Snowmobile RoomBorder – Custom Inspection and Supply Room
Tactics
Last but not least, how you use Exothermic charges will depend on your plan of attack, as well as defenders’ actions and their defensive setup.
I recommend discussing the plan as early as possible as it may impact your:
– spawn point
– preparation phase drone placement
– building approach route
– priorities for the first minute or two during the action phaseAdditionally, consider what defenders appear to be preparing for.
Example:
Defenders brought Kaid, who electrified the hatch that you initially intended to open. Your team has no counter available, so you should switch your plan to other reinforcements and adjust accordingly.
The last tip is to ensure you use advanced gadget deployment, which should be turned on by default.
Without it, you are going to be stuck in animation and unable to cancel gadget deployment.
Animation cancellation means releasing the deployment button before the gadget is deployed.
Doing so can bait Bandit or Kaid to deploy their Breach denial utility
Interactions
SYNERGIES
Opening reinforced walls and hatches is often a difference between win and loss, thus supporting Hard breachers should be the main objective of the team from the beginning of the round.
Depending on utility capabilities, certain operators will be able to support Thermite more than others.
Main Hard breacher’s support operators:
- Thatcher
Hard-breacher’s best friend. Dispatches electronics including Bandit’s Shock wires, Mute’s Jammers, and Kaid’s Electroclaws. - Twitch
Destroys electronics by zapping utility with a Shock drone. Usually a less reliable option than Thatcher due to drones requiring a line of sight on utility.
Situational support options:
- SOFT-breachers
Able to open an angle if the ceiling or floor is partially destructible.
Such opening allows the direct angle to destroy batteries or jammers, prevent „Bandit tricking” or even get a kill on Bandit/Mute. - IQ
Capable of scanning and shooting defenders’ gadgets through penetrable floor, ceiling, or wall. - Frag grenades
Operators with Frag grenades can throw a grenade through drone holes if holes are next to the reinforced wall. - Capitao
Can use his firebolts to prevent „Bandit tricking” for walls placed next to the drone hole.
Counters:
Thermite R6 Siege operator is not a hard counter to any defender’s unique gadget.
He is, however, a potential counter to reinforced wall or hatch.
Besides mentioned walls and hatches, Thermite can destroy Mira’s mirror, but from both Hard breachers, he is not the most optimal choice for doing so.
Hibana can do it significantly easier by using her projectile-based breaching X-Kairos, drastically reducing the risk of being shot down while doing so comparing to Thermite.
Countered by:
Exothermic charges are hard-countered by:
- Bandit’s batteries & Kaid’s Claws
When utility is connected to the reinforced surface.
Both utilities destroy Thermite’s charge on contact. - Mute’s jammers
Signal disruptor blocks charges without destroying them. A charge can be detonated if the jammer is destroyed, or removed to be placed elsewhere.
Situationally countered by:
- Maestro’s Evil Eye
Can destroy charge by shooting it. Requires direct line of sight on the charge from the placement side of the wall - Universal explosives
Thermite’s charge can also be destroyed by default gadgets, such as C4 and Impact grenades, exploding on the side of the wall where the charge has been planted.
How to play -
Thermite R6 Siege
Playstyle
As a support operator, you are not expected to be the first attacker engaging with enemies. Instead, play a bit more cautiously until your role is fulfilled and utility has been fully used.
The best way to utilize a support operator from the beginning of the action phase in R6 is to avoid getting spawn peeked while approaching the objective building. I highly recommend jumping on a drone for an initial 5-10 seconds and re-check your entry point.
Most of the spawnpeeked deaths can be avoided by this step alone… Seriously!
It is highly recommended for support operators to aid entry fragging teammates by droning for them to feed with invaluable intel about defenders position.
Droning for others is not flashy and won’t show on the scoreboard. However, it is one of the most critical aspects differentiating a consistently victorious squad and a random group of people where everyone plays for themselves.
Remember: to use your gadget you need to stay alive!
Your approach to round should be cautious as a Thermite R6 Siege operator until your charges have been used.
Thermite, dying quickly as potentially sole Hard breacher, significantly limits options available to your team. Especially if defenders are aware of your team composition.
Hence, let other operators do entry fragging and focus on your first two steps:
- approaching wall/hatch safely you want to open
- opening walls/hatches
- entry to the building has been made
- your team has established sufficient map control
- you have used your utility
Thermite is also an excellent choice for a player who wants to be the leader of the group in R6. The leader will have time to coordinate the team until charges can be planted safely.
The last tip in the Rainbow Six Siege Thermite guide for playstyle is optional and depends highly on the team:
In the pro league and well-coordinated teams, defuser duty is often a secondary role for Thermite due to his already passive role at the beginning of the round. If you are playing with the squad and you’re a Thermite main, then consider such a role. Don’t be afraid to ask for a defuser even when playing solo.
One of the most infuriating situations when playing bomb is having fragger dying with defuser on the opposite side of the map, while you have easy access to the bomb site.
Difficulty
- Thermite’s importance to attacking strategy, which impacts the importance of staying alive
- Knowledge necessary for where to use the gadget
- Vulnerability during placement of Exothermic charge
Loadout guide -
Thermite R6 Siege
Available options
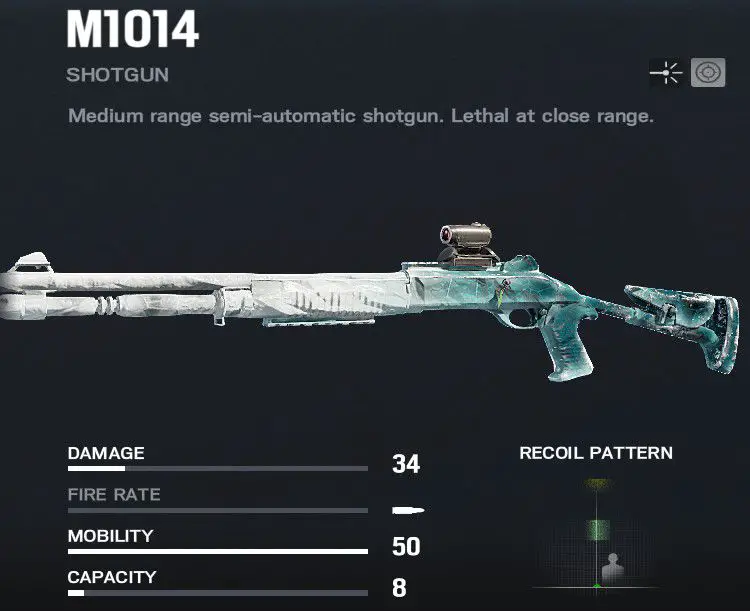
Primary weapons
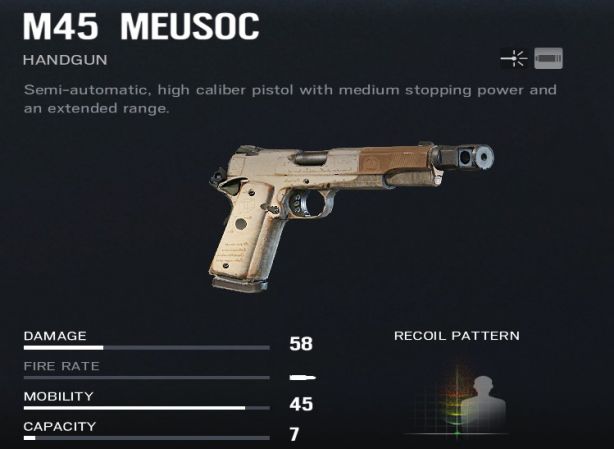
Secondary weapons
Universal gadgets
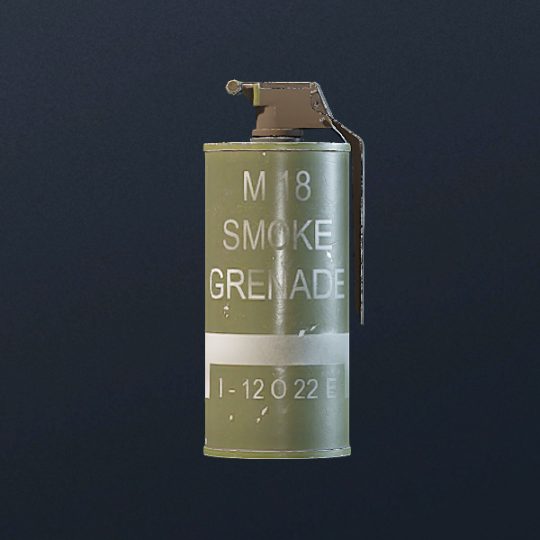
Smoke grenade
Grenade releasing a cloud of smoke, which is almost impossible to see through. It gives the advantage to players by preventing line of sight.

Stun grenade
Temporarily blinds enemies facing grenade in radius during detonation.
Loadout suggestion
Loadout choices are an individual aspect, and rarely there is a “go-to” loadout in R6 Siege.
Sight choices are purely personal and depend on the player’s playstyle, map, even objective & specific role.
Please treat the below suggestion as what it is – our preferences.
We encourage you to experiment to find your setup.
Remember, just because something works for someone else, does not mean it has to and will work for you!
Suggested loadout:
| Primary weapon | Barrel | Grip | Scope |
| 556XI | Flash Hider | Vertical grip | ACOG |
| Secondary weapon | Barrel | Grip | Scope |
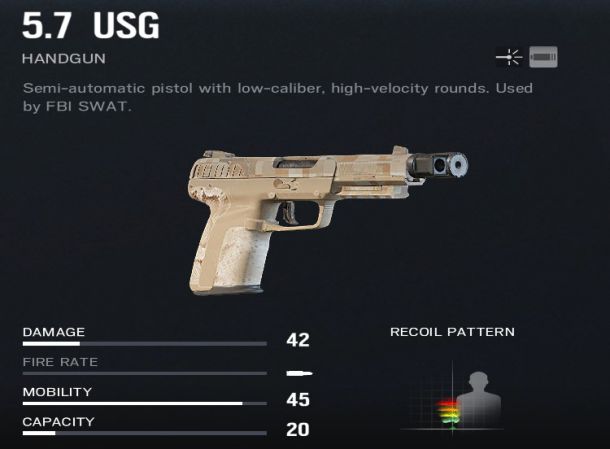
| 5.7 USG | Muzzle brake | N/A | N/A |
| Gadget |
| Smoke grenade |
Why such loadout?
PRIMARY WEAPONS
556xi recoil has been greatly reduced in the past, making it significantly more controllable. Currently, we prefer flash hider as it reduces kick on the first few bullets very well. We do not find horizontal spread reduction significant enough with compensator, but many players like using 556xi with that barrel, as well.
A general tip regarding sights:
SECONDARY WEAPONS
UNIVERSAL GADGETS
Community Videos -
Thermite R6 Siege
Instructional videos
Gameplay showcases
Other operators
Learn more about other operators in Siege!


Or go to list of all available Guides