PROs:
- Very good guns
- Universal utility
CONS:
- Limited coverage from the shield
- Shield can backfire
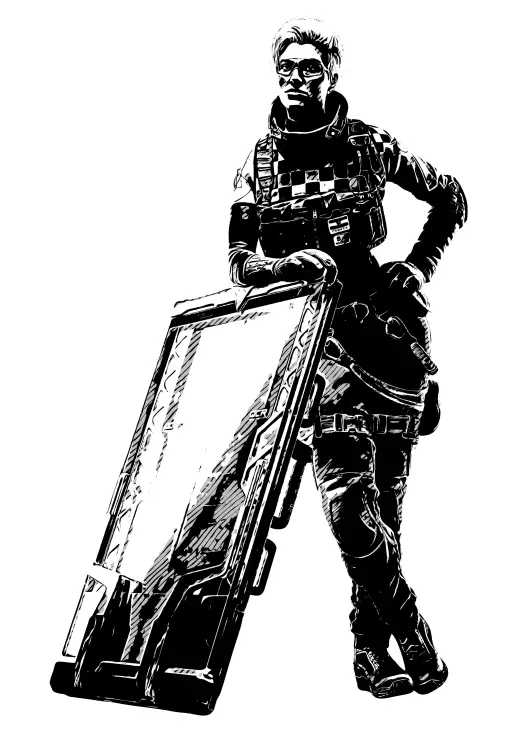
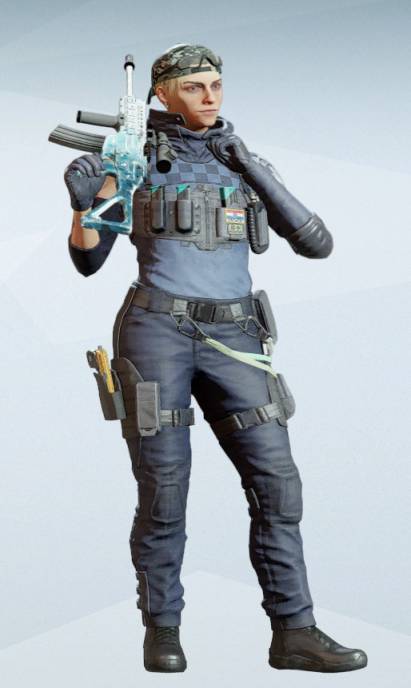
OSA
Offensive operator
Organization
NIGHTHAVEN
Availability
DLC Y6S3
Armor Rating
Medium
Speed Rating
Medium
Biography
Born to the Janković family, owners of European toy stores, Anja traveled with her parents constantly, so she never felt stable until she moved in with her aunt in Croatia at the age of 6. She began her schooling there and learned the family trade of toymaking, all the while developing a near obsession for 60s science-fiction films.
She followed her passion for creation and technology and studied electromechanics at a vocational school, and then military engineering at the University of Zagreb where she excelled at robotics engineering.
OPERATOR VIDEO
She found herself isolated due to her unorthodox approach and others’ attitudes towards her transition, so she focused on her work. Her unique perspective and raw creative ability set her apart from her peers and got her the attention of Kali, who was in the country looking for recruits. An offer followed, and Janković joined Nighthaven.
The company’s success can be largely credited to Osa’s inventions and her field work. Her efficiency and the versatility of her arsenal have given them an edge in every recorded operation, and by proving herself to be a dedicated and reliable asset she earned the choice position of Nighthaven’s head of R&D.
Operator guide
Detailed information on how to play Osa R6 Siege operator
Utility
What is the utility?

WHAT IS THE ROLE OF THE TALON-8 SHIELD?
- creating new safe angles for attackers
- gathering intel about defenders’ location and their setup
- helping advance attackers’ strategical control
CHARACTERISTICS OF Talon-8:
- 2 shields available per round
- Talon-8 shields are taller than deployable shields
- Osa’s gadget has transparent glass, thus allowing seeing through the shield to gather intel
- Shield offers complete protection from frontal gunfire while carrying it, but only when Osa is in a crouching position
- Standing upwards exposes Osa’s legs to shots even from the front
- Osa is unable to sprint or go prone with a shield equipped – prompting such action unequips shield
- Talon-8 can be deployed by Osa and then used more as a traditional deployable shield
- When deployed, the shield offers broader protection than when carried by the operator
- The shield can be picked up by Osa, and her only
- When equipped, Talon-8 can be used to destroy barricades with its deployment animation (more on it later!)
- Shields are indestructible by gunshots
- Talon-8 can be meleed to obscure its visibility completely – similarly to Mira’s Black Mirrors and Maestro’s Evil Eyes
- When shot, the shield’s material will be cracked, making it a bit harder to see clearly through it – example below

How to use utility?

LOGIC BEHIND TALON USAGE
CARRYING THE SHIELD
- What are the angles I can get shot from?One of the most challenging aspects of playing shields in R6 is understanding the angles. Shields offer limited protection, so your character is exposed to gunshots if you position yourself incorrectly. Maps available in the game are multilayered with tons of potential for default angles and self-made ones by players.Your success while playing shield operators will be heavily determined by your ability to understand your environments.
- Do I have support from my team?Shield operators rely on their teammates to provide much-needed firepower during their push. Pushing alone puts you at a disadvantage, so try to have teammates supporting you whenever possible. However, Osa is unique in this aspect. She can deploy her shield to provide herself cover and then use an automatic primary gun to kill enemies.
- What’s the situation behind me?You want to know how your teammates are positioned behind you and coordinate with them. Your allies will rely on you to provide cover, so make sure you do not move to the sides or turn unexpectedly – this could lead to your teammates getting shotThe difficulty of understanding everyone’s position is that you cannot simply turn to check. Well, not at least when it matters the most. So you will rely on voice communication and teamwork, which develops with time.
- How can I expose my character’s model as little as possible?Understanding how your character is positioned towards enemies can be difficult since we play FPS and not TPS. In case you die when you thought you were hidden behind the Talon shield, make sure to check the replay – it will help you figure out how your character moved and exposed itself to enemies.
DEPLOYING THE SHIELD
- Do we benefit from this position?Not every shield deployment location will benefit your team. Sometimes defenders will gain from your shield’s location. A good example is placing your Talon-8 shield in doorways leading to the objective. It could be a good location for a shield to provide initial intel about the situation on the objective. But it can also make your life harder when entering the objective. Eventually, you will have to vault over it, forcing you to commit to the push and locking you in vaulting animation.
- How much control this shield deployment position gives us?You want to understand the angles your shield provides to your team.
- Are my teammates going to use this position or will it be redundant?In a moment, certain positions may seem beneficial. But often, they become quickly useless due to your team advancing rapidly. Ineffective deployment is not a big issue since you can pick it up again. But it may waste time and delay your push, primarily if your teammates rely on your pushing capacity to get control over the map.
COOPERATE WITH TEAMMATES
- teammates can capitalize on distractions created by your shield
- trade potential – trading means getting immediate kill back in case a member of your team is killed
- an ally can quickly peek from behind your shield while you are carrying it

WATCH OUT HOW YOU PEEK FROM BEHIND THE SHIELD
YOU CAN DEPLOY SHIELDS IN DOORWAYS AND WINDOWS


TAP DEPLOYMENT BUTTON ON BARRICADES
Interactions
SYNERGIES
- BlackbeardLike other shield attackers, Osa provides cover for Blackbeard’s most exposed parts of the body – torso, and legs. Blackbeard & crouching shield operator can be quite a combo!
Counters:
Countered by:
- ExplosivesImpact grenades and Nitro cells will immediately destroy Talon shields
- MeleeHitting the shield with a melee attack will shatter the glass, making it impossible to look through the gadget without peeking out of it
- Castle Armor panelsUnlike default barricades, Armor panels cannot be destroyed with Talon’s deployment animation
How to play Osa
Playstyle

- medium speed/medium armor stats
- very good primary weapons
- unique utility helping with fragging potential
- solo queue
- queuing with a squad
Difficulty
- understanding the angles
- mechanical know-how to place your character model correctly
- finding valid placement locations for your shield
- coordinating with your team to gain an advantage
Loadout guide - Osa
Available options
Primary weapons
Secondary weapons
Universal gadgets
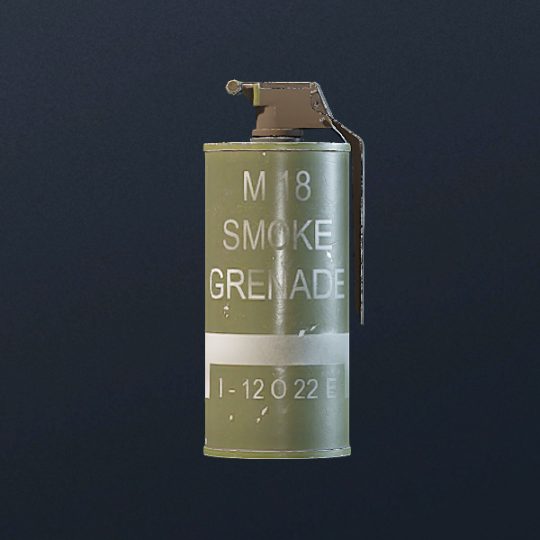
Smoke Grenade
Grenade releasing a cloud of smoke, which is almost impossible to see through. It gives the advantage to players by preventing line of sight.

CLAYMORE
Anti-personnel explosive. Explodes when contact with sensor is made, injuring or dealing lethal damage.
Loadout suggestion
Loadout choices are an individual aspect, and rarely there is a “go-to” loadout in R6 Siege.
Sight choices are purely personal and depend on the player’s playstyle, map, even objective & specific role.
Please treat the below suggestion as what it is – our preferences.
We encourage you to experiment to find your setup.
Remember, just because something works for someone else, does not mean it has to and will work for you!
| Primary weapon | Barrel | Grip | Scope |
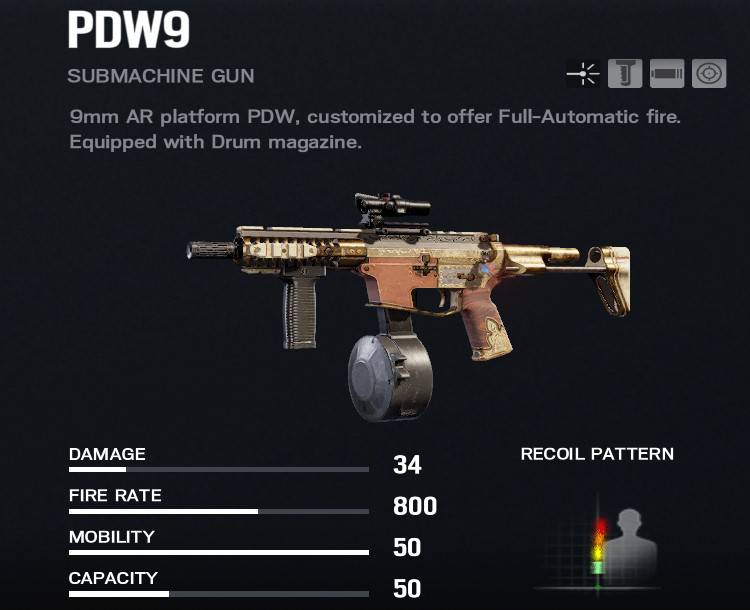
| PDW9 | Compensator | Vertical Grip | 1.5x |
| Secondary weapon | Barrel | Grip | Scope |
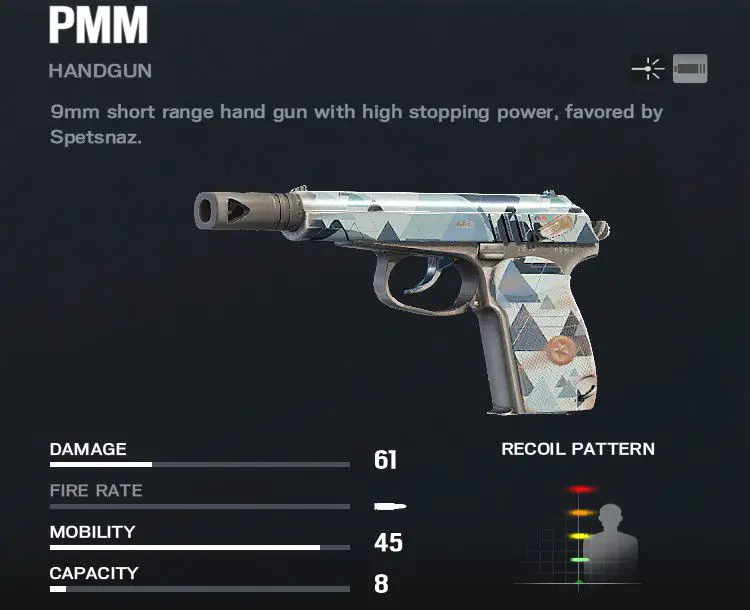
| PMM | Muzzle Brake | N/A | N/A |
| Gadget |
| Smoke Grenade |
Why such loadout?
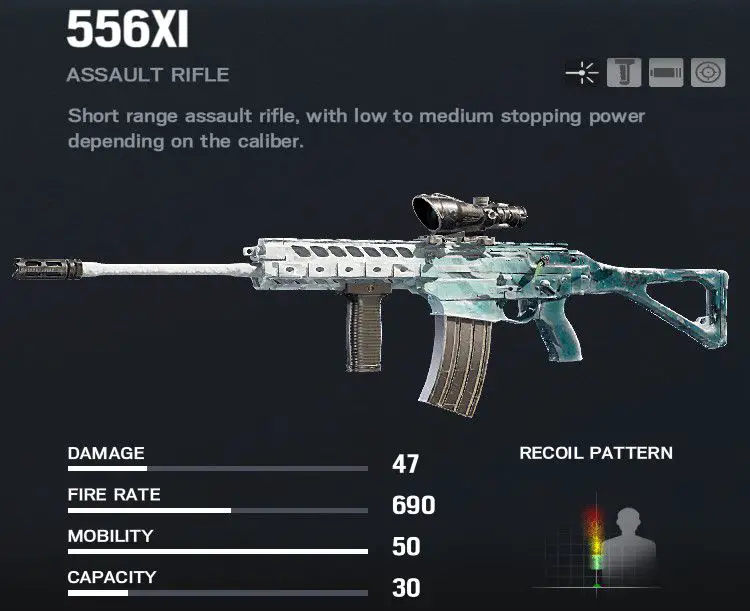
PRIMARY WEAPONS
- 556XI has access to 2.0x and 2.5x
- PDW9 provides you with 1.5x scope
SECONDARY WEAPONS
UNIVERSAL GADGETS
- you tend to play the objective
- you are more of a support player
- you’re the designated defuser planter
Community Videos -
Osa
Gameplay showcases
Other operators
Learn more about other operators in R6 Siege!


Or go to list of all available Guides