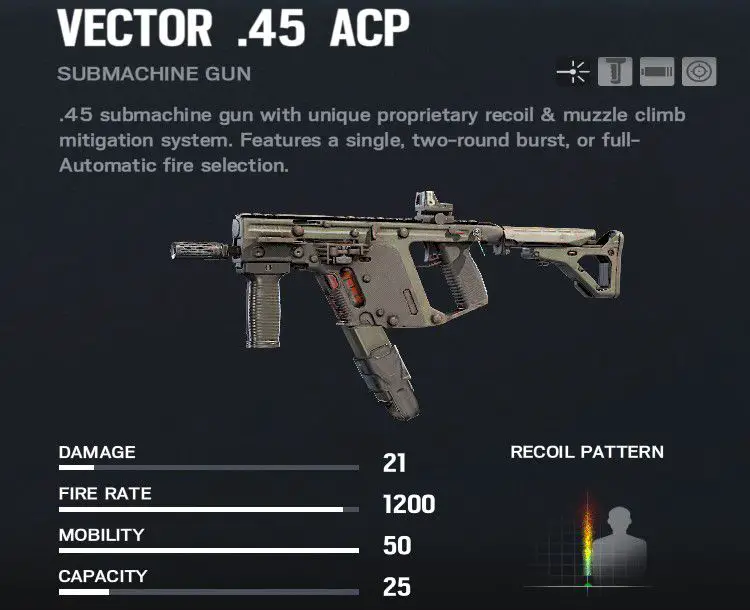
PROs:
- Tactics changing utility
- Vector melts at close range
- Loadout synergizes well with utility
CONS:
- One speed
- Low damage per bullet
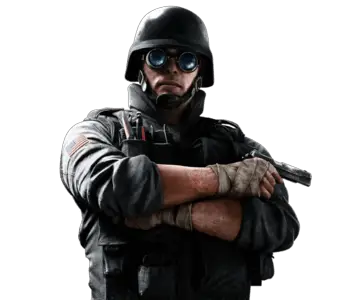
Mira
Defensive operator
- Area denial
- Intel gatherer
Organization
GEO
Availability
DLC Y2S1
Armor Rating
Heavy
Speed Rating
Slow
Operator Guide - Mira
Table of Content
Biography
Working alongside her father in his mechanics store from a young age, Álvarez can find the weaker spot on any machinery and turn it into an edge. She joined the police force Cuerpo Nacional de Policía so that she could be of service to those in need of protection, and thus serve her country.
Proving to have stellar strength, endurance and knowledge of vehicles sparked her progress in the ballistic field. She joined the Grupo Especial de Operaciones (GEO) to develop and test bulletproof materials on the field as well as enhancing bridging vehicles.
OPERATOR VIDEO
Operator guide
Detailed information on how to play Mira R6 Siege operator
Utility
What is the utility?
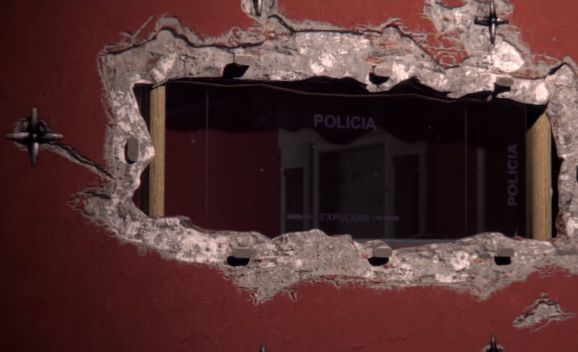
That’s because Black Mirrors can be countered in many ways. And once countered, mirrors provide a significant disadvantage to defenders.
How to use utility?
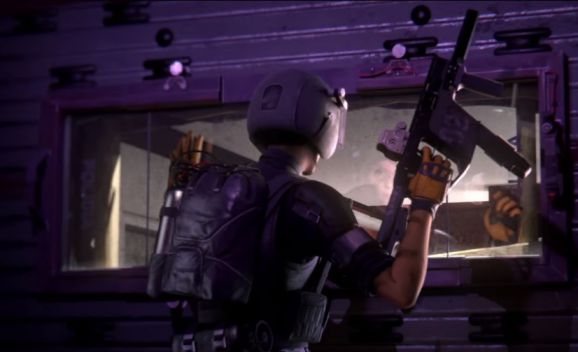
Mechanically:
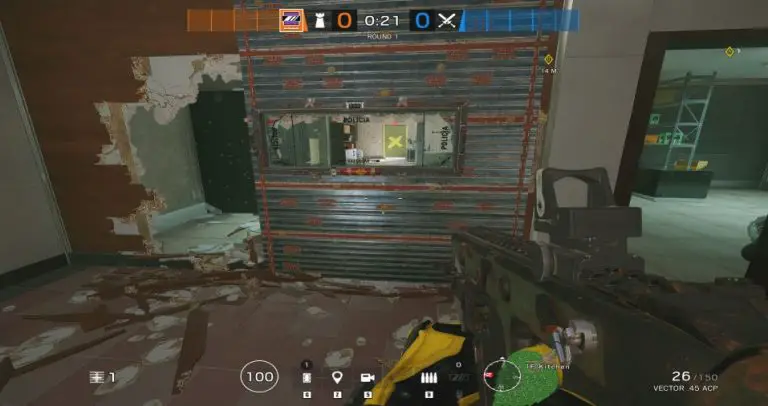
Reinforced wall
Hard breachers can destroy mirrors as they are the only ones to breach through reinforcements.
Best to be used when there’s a “soft” wall (can be shot through) next to Mirror or open space (like a doorway).
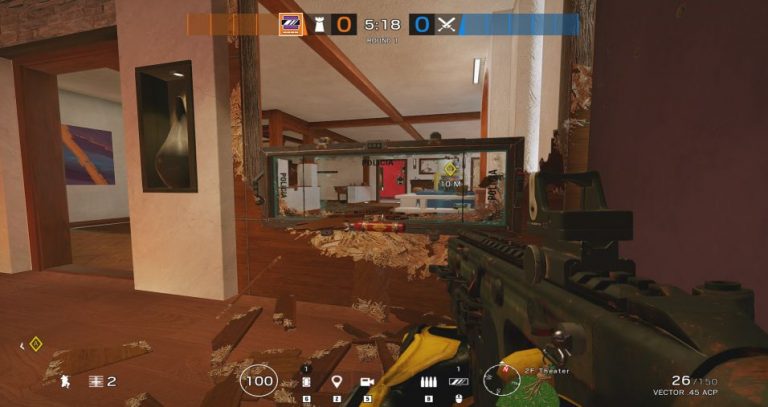
Un-reinforced wall
When placed on unreinforced wall Mirrors can be countered by the destruction of the wall they are placed on. As a result, operators like Ash and Zofia can deal with them.
Un-reinforced walls Mirror placement is usually done on the crouch level. Thanks to crouch placement player behind Mirror can shoot from the above Mirror. We can achieve such placement with a single “soft” wall without a doorway or other soft wall right next to it.
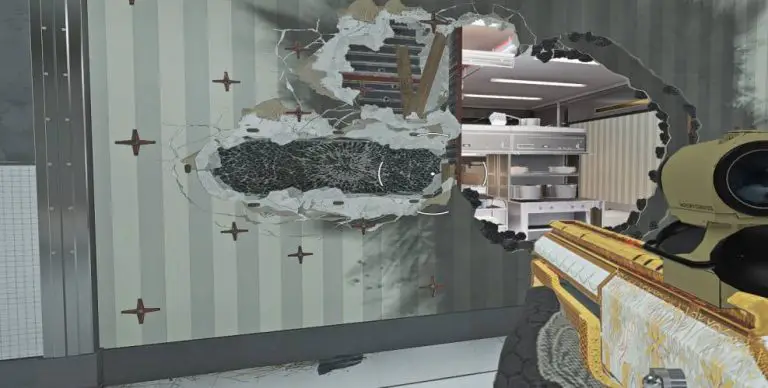
THE Y6S2 NERF – SHATTERED GLASS
With the introduction of glass shattering mechanics to Rainbow Six Siege in Operation North Star, proper positioning of Black Mirrors become more important than ever!
Previously you could get away with a Black Mirror where enemies were able to get in close proximity to the gadget. Now, such placement will be countered more often than not.
OPENING MIRRORS
PLACEMENT PRINCIPLES
- allow to peak quickly
- deny attackers the possibility to push from an important angle
- provide visual over a large area – can be both long or wide-angle
- are hard to dispatch without risk
PRACTICAL TIPS
- Shoot openings in soft walls in front of Black MirrorsDoing so provides for additional coverage from behind the Mirror
- Open holes in walls next to MirrorSuch setup will help with throwing explosives to kill the enemy or deny a plant.It also helps with accurate shooting while peeking.
- Shoot holes in the wall you are reinforcing and debris on the side of the MirrorPrevents annoying debris from obscuring the view, as well as increases width of angle visible from behind Mirror
DOUBLE MIRROR SETUP
COMMUNICATION IS KEY
Interactions
SYNERGIES
SMOKE
Black Mirrors can be utilized well by another area-denial focused defender. Yes, we are talking about Smoke. Black Mirrors provide him with visual information about attackers pushing the objective and safety for using gas canisters when needed.
C4
Besides Smoke, any defender with access to C4 can benefit from visual info provided by Black Mirrors.
Counters:
Countered by:
- Shock drone – TwitchThe most direct counter to Mira’s Black Mirrors. Twitch drones can “zap” ejection. Shock drones cannot jump. Therefore, placing the deployable shield in a single doorway that is the only way leading to the mirror can prevent the Shock drone from opening it.
- X-Kairos – HibanaHibana is the most adept hard breacher at opening Mira’s Black Mirrors thanks to the possibility to use a breaching device at the range. The detonation of even single X-Kairos pellets on Black Mirror will open it completely.
- Both operators can open Rainbow Six Siege Mira Window, but due to the minimal range of their gadgets are somewhat risky and limited at their countering capabilities.
How to play -
Mira R6 Siege
Playstyle

3-ARMOR
ROLES ARE FLUID
Difficulty
- Mira requires advanced map knowledge and game experience
- Has a vital role in defensive set up and is not a recommended operator for new players
- In many scenarios, team coordination is necessary for optimal usage
Loadout guide -
Mira R6 Siege
Available options
Universal gadgets
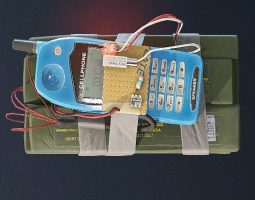
Nitro cell
The throwable explosive detonated remotely by the user. It can be pre-placed or used similarily to grenades — the best counter to Shield operators and preventing the defuser plant.
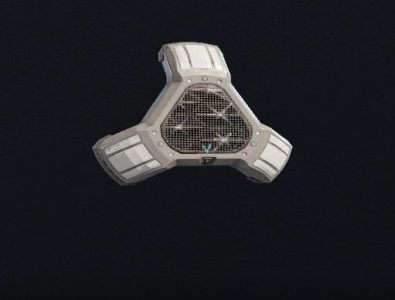
Proximity Alarm
A deployable alarm that emits a sound when attackers are within its line of sight and range.
Loadout suggestion
Loadout choices are an individual aspect, and rarely there is a “go-to” loadout in R6 Siege.
Sight choices are purely personal and depend on the player’s playstyle, map, even objective & specific role.
Please treat the below suggestion as what it is – our preferences.
We encourage you to experiment to find your setup.
Remember, just because something works for someone else, does not mean it has to and will work for you!
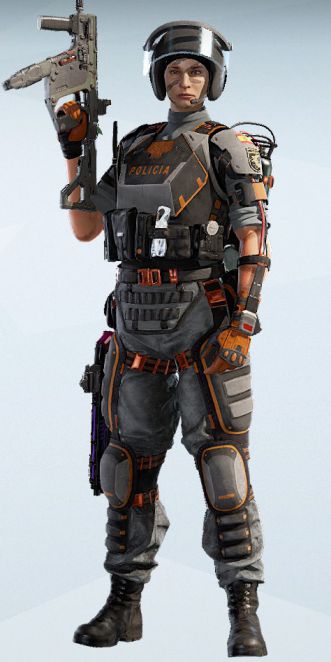
Suggested loadout:
| Primary weapon | Barrel | Grip | Scope |
| Vector .45 ACP | Compensator | Vertical grip | Reflex |
| Secondary weapon | Barrel | Grip | Scope |
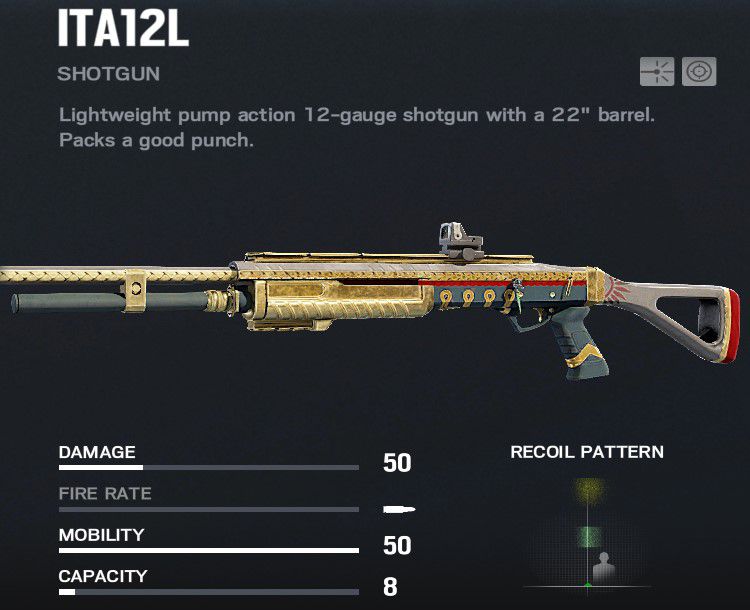
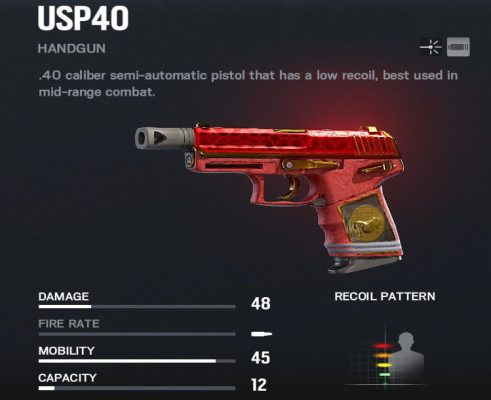
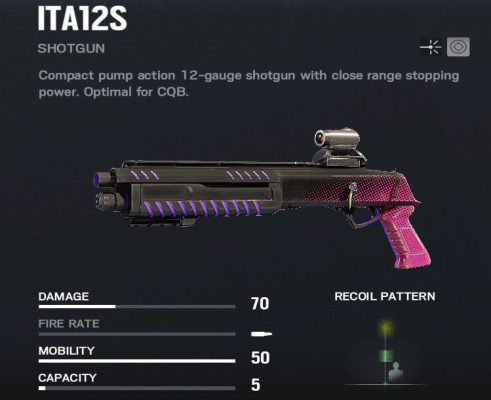
| ITA12S | N/A | N/A | Red dot |
| Gadget |
| Nitro cell |
Why such loadout?
PRIMARY WEAPONS
SECONDARY WEAPONS
UNIVERSAL GADGET
Community Videos -
Mira R6 Siege
Instructional videos
Gameplay showcases
Other operators
Learn more about other operators in Rainbow Six Siege!
Or go to list of all available Guides
