Rainbow Six Siege Operator Guide:
How To Play Buck in 2023?
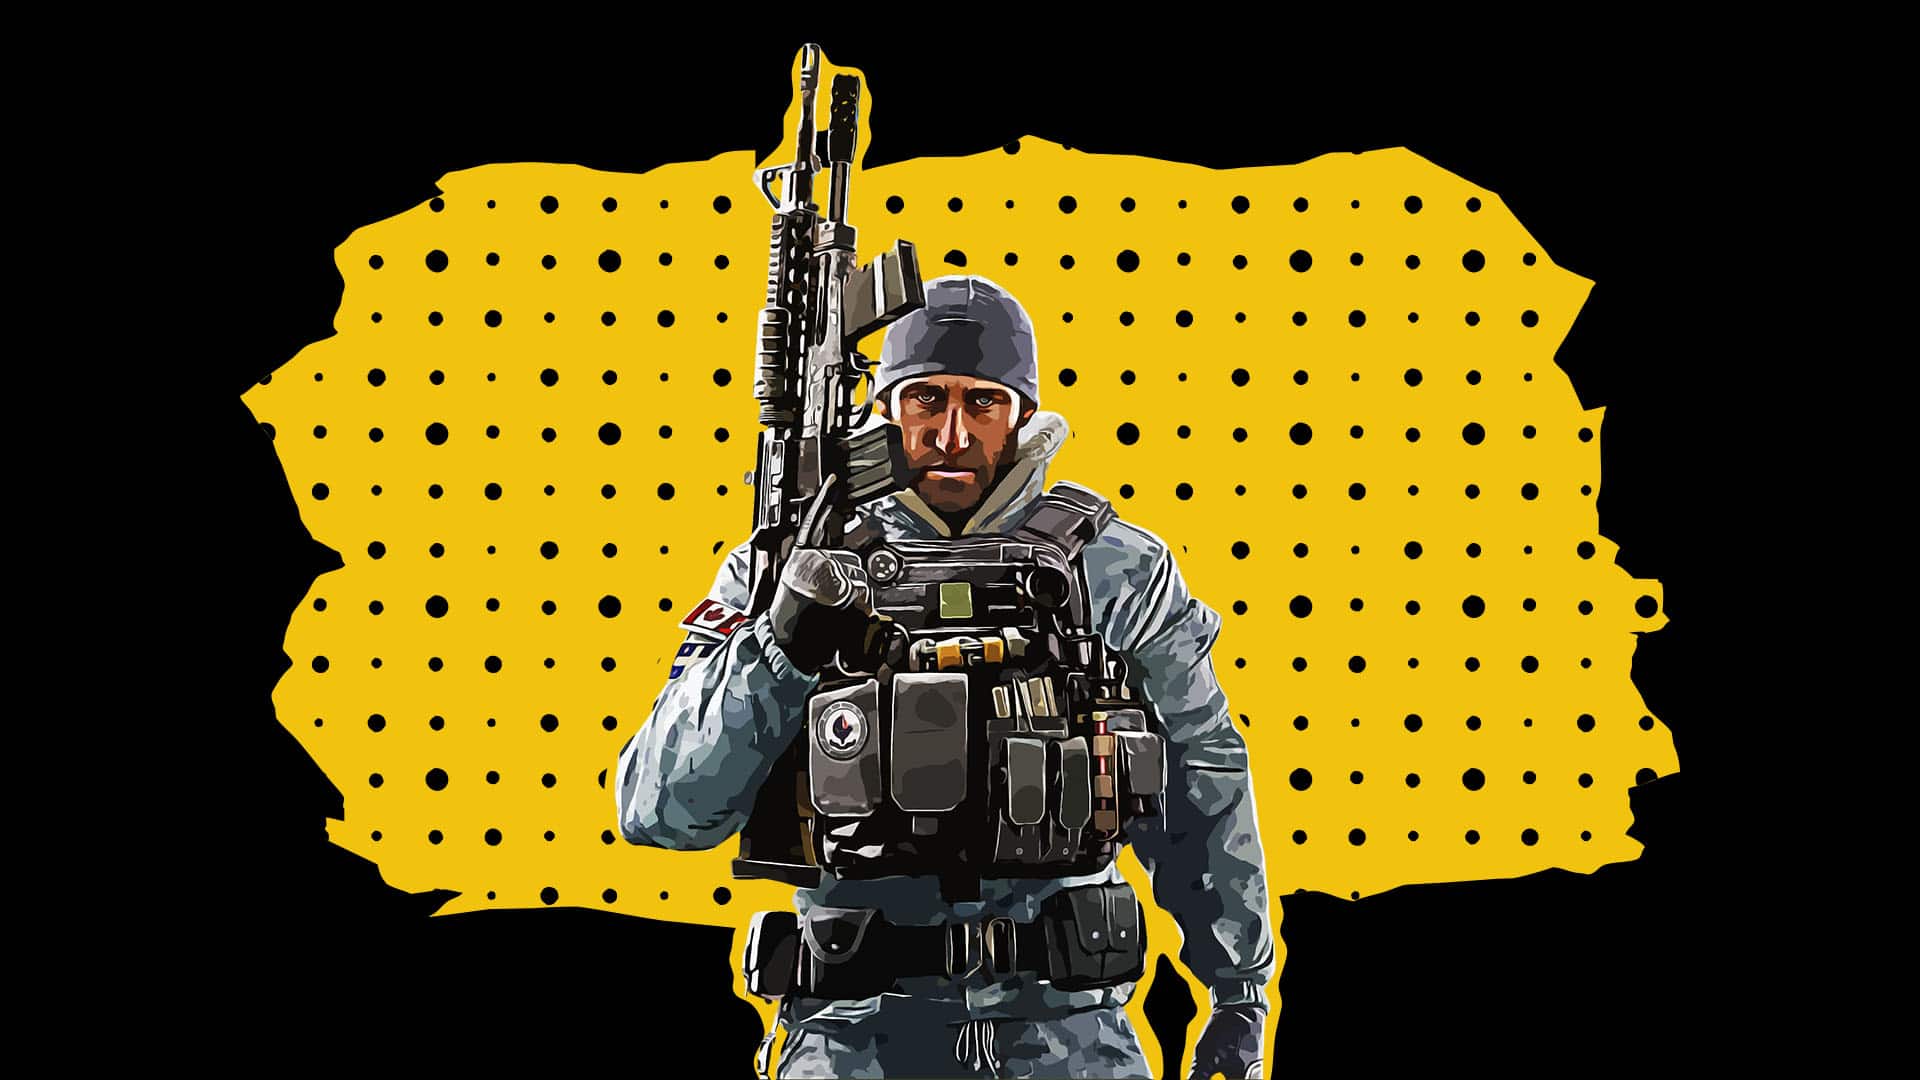
Rainbow Six Siege’s Buck is a highly versatile attacker, excelling in both solo and team play.
As a Soft breacher, his unique Skeleton Key enables him to create openings in surfaces from a distance, making him the ideal operator for vertical control.
However, mastering Buck requires extensive map knowledge and keen game sense.
PROS:
- Buck wields the formidable C8, a powerful weapon that offers significant firepower on the battlefield.
- With a versatile loadout and utility, Buck adapts well to various situations and can fulfill different roles as needed.
- Buck is an excellent choice for solo queue players, allowing them to make a significant impact on their own.
CONS:
- Buck may not be suitable for beginners, as he requires a certain level of experience and map knowledge.
- The C8 rifle, while potent, has quite high recoil.
- Buck misses access to frag grenades limiting his entry capabilities.
OPERATOR GUIDE – BUCK
TABLE OF CONTENT
BUCK Utility Guide
What is the ability of Buck?
Rainbow Six Siege’s operator, Buck, possesses a primary weapon equipped with a secondary firing mode known as the Skeleton Key. This unique tool enables Buck to create openings in soft walls, ceilings, and floors, while also serving as a close-range weapon against defenders.
The Skeleton Key’s primary purpose lies in granting attackers vertical control over the objective. By utilizing ceilings, floors, or hatches, Buck can engage enemies from a superior angle. This strategic advantage forces defenders to either abandon their preferred defensive positions or confront the aggressor from an unfavorable standpoint. Furthermore, creating additional vertical openings in Rainbow Six Siege increases the number of angles defenders must defend or remain attentive to.
Among the operators available in Rainbow Six Siege, Buck stands out as the most versatile soft breacher due to several factors.
Firstly, he possesses a substantial amount of ammunition for the Skeleton Key, allowing for prolonged breach operations.
Secondly, Buck’s range of operation surpasses that of other operators like Sledge, as he can breach from both above and below.
Lastly, Buck’s swift weapon swapping time facilitates a seamless transition from the Skeleton Key to his primary weapon, enhancing his overall efficiency in combat situations.
How to use Buck’s utility?
To use Skeleton Key, Buck has to switch to the “secondary” firing mode by pressing the unique utility button. After switching to Skeleton Key, Buck R6 operator can fire it just like any other weapon.
Defenders will usually reinforce all (or at least most) soft walls surrounding objective, therefore limiting horizontal control options for soft breachers. However, soft ceilings and floors cannot be reinforced (besides hatches). Thus, in Rainbow Six Siege Buck is best suited to be played above or below the objective.
MAP KNOWLEDGE
An essential skill to utilize Skeleton Key to its fullest is having a good map knowledge. Advanced map knowledge combined with Buck’s breaching capability can result in an objective site being opened entirely.
If you are struggling with learning the maps in Rainbow Six Siege, then we highly recommend checking out our Rainbow Six Siege Mastery E-book – it offers comprehensive section on learning the maps in the game.
A general tip for mindset is to think about positions you would typically hold as a defender and try to counter such while on the attack.
BUCK’S MAPS
In Rainbow Six Siege, Buck is a dominant operator on maps with an abundance of soft floors and ceilings.
Ranked maps where Buck shines are:
- Border
- Chalet
- Oregon
- Villa
- Outback
Please note that the above list contains maps where Buck can have the highest impact. He can be a capable operator on every map in R6 Siege. Maps not mentioned above have fewer possibilities (or lesser impact) for vertical destruction for the most commonly used objectives site.
CREATING NEW ROUTES TO THE OBJECTIVE
Besides sowing death and destruction on the objective, Buck R6 operator is a great attacker to develop new avenues from building an entry point to the objective.
Seasoned roamers know the usual entry points and mostly used paths to the objective. In Rainbow Six Siege Buck can get the upper hand by opening an angle or passage behind a roamer or out of his eyesight to give attackers an advantage in hunting down lurking roamer.
COUNTERING MIRA OR BREACH DENIAL UTILITY
In many cases, Buck can support Hard breachers by getting rid of Breach denial utility. To do so, Buck should open the floor or ceiling where defenders utility is expected to be placed. Such usage requires advanced map knowledge as Buck player will have to know by heart where to open holes.
The same method applies to Mira windows located in places with soft surroundings. Buck can open a hole to the eject window by shooting at its trigger.
Synergies with other operators:
Buck’s abilities synergize effectively with Hard breachers to overcome Breach denial utility.
In Rainbow Six Siege, Buck can form a formidable partnership with Maverick during attacking rounds. By coordinating their efforts, they can strategically open up reinforced walls. If Maverick skillfully cuts through the top and bottom portions of a reinforced wall, it renders the wall unreinforced.
This creates an opportunity for Buck (or any other Soft breacher) to subsequently breach and access the area beyond the wall. Together, their combined tactics pave the way for successful infiltration and domination.
Countered by Buck:
Buck, the operator in Rainbow Six Siege, serves as an effective counter to anchoring defenders due to his ability to strategically utilize his Skeleton Key.
By employing the Skeleton Key to its fullest potential, Buck can frequently force anchoring defenders to reposition themselves.
Furthermore, Buck can be considered a situational counter to breach denial operators. However, it is important to note that this counter is dependent on the availability of soft surfaces. Buck relies on such surfaces to effectively destroy defensive gadgets employed by breach denial operators. Therefore, the effectiveness of this countermeasure is contingent upon the presence of appropriate materials for Buck to leverage his utility against.
Counters to Buck:
Buck’s ability to breach through walls or open hatches can be effectively countered by default reinforcements. However, it’s important to note that defenders in Rainbow Six Siege currently lack the means to counter his ability to create angles in soft ceilings. This gives Buck a distinct advantage in terms of vertical control!
Nevertheless, when Buck players strategically exploit the vertical advantage and concentrate on locating enemies from the newly opened angles, they become susceptible to flanking maneuvers. It is crucial for Buck players to remain vigilant and mindful of potential flanks while capitalizing on their vertical prowess.
Buck Playstyle Guide
Playstyle role of Buck
ENTRY FRAGGER: LEADING THE CHARGE
In Rainbow Six Siege, entry fraggers play a crucial role as the “tip of the spear,” spearheading the force that penetrates the first line of defense. Buck, as an entry fragger, takes on the responsibility of hunting down roamers. This proactive approach minimizes the risk of late-round flanks that could jeopardize the final objective push. To delve deeper into roam clearing strategies, refer to our dedicated guide on the subject.
BE DECISIVE
As a fragger, Buck must embody decisiveness and fearlessness when challenging defenders. Entry fraggers hold a vital position in advancing the attackers’ progress throughout the round. This progress entails securing strategically important locations, such as gaining control of the room above the objective site if the ceiling is destructible. Additionally, entry fraggers often lead the charge against anchors entrenched on the objective, aiming to eliminate them swiftly.
CHOOSING THE RIGHT ENTRY POINT
During the preparation phase in Rainbow Six Siege, it is advisable to carefully select your entry point based on personal preferences, the defensive setup, and your team’s plan of attack. Leaving your drone at the chosen entry point provides initial intel, offering a valuable advantage. Defenders may attempt to catch attackers off guard by setting up traps on entry points, but by knowing their intentions and whereabouts, you can neutralize their element of surprise. This knowledge allows you to prefire defenders or avoid them altogether, giving you an upper hand from the start.
Difficulty of Buck – HARD
Buck, the operator in Rainbow Six Siege, presents a significant challenge for attackers who aim to utilize him effectively. The following factors contribute to his level of difficulty:
- C8 having relatively hard to control recoil:
Buck’s primary weapon, the C8, possesses relatively challenging recoil to manage. Mastering the control of this recoil demands practice and a high level of skill to achieve optimal effectiveness. - He requires advanced map knowledge and experience:
Buck’s role as an attacker revolves around creating vertical control. Understanding which areas to breach with the Skeleton Key is a daunting task for new players. Inexperienced individuals may lack sufficient knowledge of the map layout and the typical defensive positions that defenders occupy.
Navigating these challenges requires dedication and a commitment to learning the intricacies of Buck’s playstyle. With time and effort, players can overcome these hurdles and fully harness the potential of this versatile attacker.

Buck Loadout Guide
Available loadout for Buck
| Primary Weapons | C8 | CAMRS | – |
| Secondary Weapons | Gonne-6 | MK1 | – |
| Universal Gadgets | Hard Breach Charge | Stun Grenade | – |
suggested loadout for Buck
| Primary Weapon | Barrel | Grip | Sight |
|---|---|---|---|
| C8 | Flash hider | Vertical Grip | Reflex A |
| Secondary Weapon | Barrel | Grip | Sight |
|---|---|---|---|
| Gonne-6 | – | – | – |
| Universal Gadget |
|---|
| Hard Breach Charge |
Why such loadout for Buck?
Primary Weapons:
When it comes to Buck’s primary weapons, the CAMRs is a decent DMR option. However, in a game where a headshot results in an instant kill, we don’t recommend using DMRs for operators who have a reliable automatic weapon available as an alternative.
The C8, on the other hand, is a powerful assault rifle with a low time to kill and high damage per shot. It’s important to note that the C8 does come with the drawback of high recoil.
To mitigate this, we suggest equipping the Flash hider attachment, as it helps reduce the noticeable vertical kick. Additionally, for our personal preference, we recommend using the C8 with 1x sights, with the Reflex A being our all-time favorite choice.
Secondary Weapon:
Buck excels as a one-man army, and the availability of the GONNE-6 enhances his versatility. Since Buck essentially has both a primary and secondary weapon with the C8 (thanks to the Skeleton Key functioning as a shotgun), you can confidently bring the GONNE-6 without sacrificing firepower. The GONNE-6 proves invaluable for dealing with deployable shields, Azami’s barriers, and other troublesome utility.
Secondary Gadget:
Stun grenades serve as an excellent tool for pressuring defenders and increasing your chances of winning gunfights. If you’re playing in an organized team and your role involves entry fragging, opting for stun grenades is a wise choice. However, if you find yourself playing with a less organized squad or venturing into solo queue, selecting the Hard Breach Charge as your secondary gadget provides you with greater flexibility and independence when dealing with various obstacles on the field.
More Content:
Rainbow Six Siege Operator Guide: How To Play Ace in 2023?
https://youtu.be/x32EyVrg8Jw Rainbow Six Siege Operator Guide:How To Play Ace in 2023? Ace is the 4th Hard breacher in the Rainbow Six Siege attacking roster.As a Hard breacher, he is capable…
