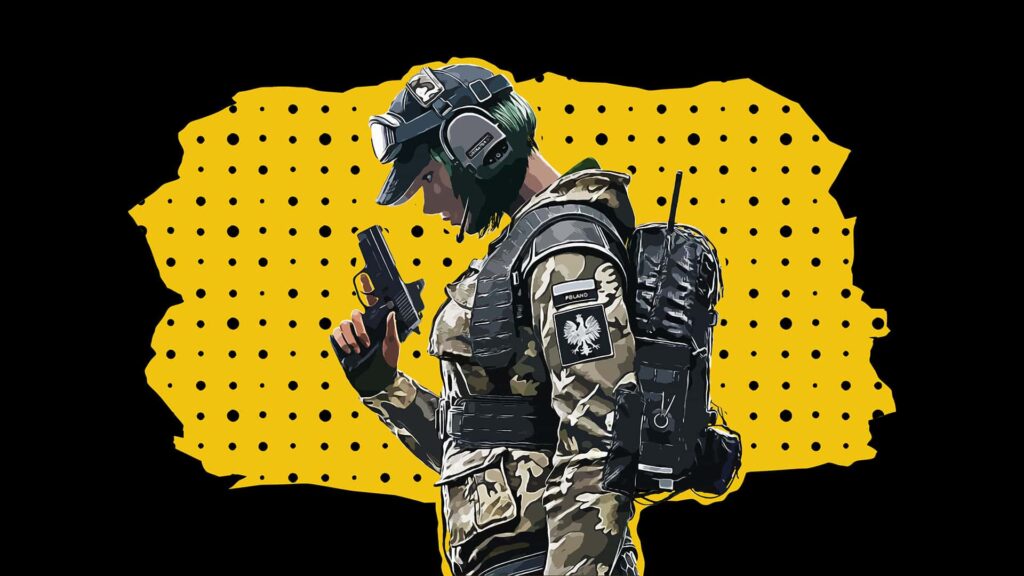
Rainbow Six Siege Ela Guide:
How To Play ELA in 2023
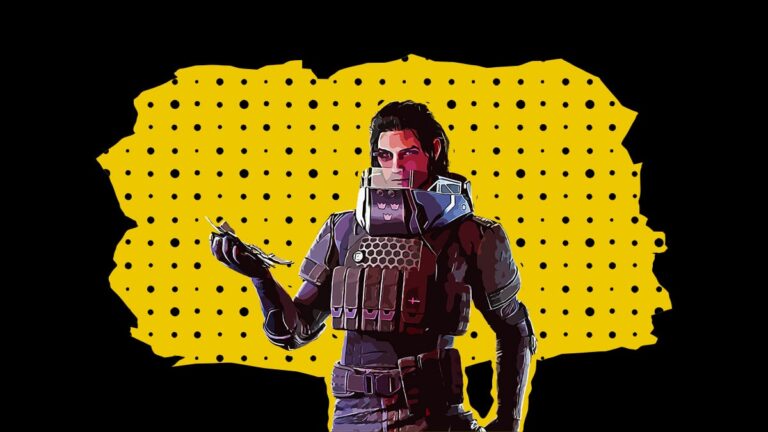
Ela, the operator in Rainbow Six Siege, brings a unique set of skills to the defensive side. Previously known for her overwhelming power, Ela Bosak is a trap specialist who shines in close-quarters combat.
As a nimble defender, Ela’s versatility allows her to adapt to different playstyles. Whether you prefer a roaming approach or holding down the objective, she has the capabilities to excel in both roles.
With her signature Concussion mines at her disposal, Ela offers a valuable combination of information gathering and disruption for her team. These mines not only provide vital intel on the enemy’s whereabouts but also deliver a disorienting blow to impacted attackers.
PROS:
- Formidable in close-quarters combat, excelling at short-range engagements.
- Boasts versatile utility with her Concussion mines, providing both information gathering and disruption capabilities.
- Excellent mobility as a 3-speed operator, making her an effective roamer.
CONS:
- Lacking access to explosives.
- Less effective at mid and long-range engagements, where her close-range prowess is less impactful.
OPERATOR GUIDE – ELA
TABLE OF CONTENT

Ela Utility Guide
What is the ability of Ela?
Concussion mines are Ela’s unique utility in Rainbow Six Siege.
These mines are throwable traps that can stick to any surface, including walls, ceilings, and floors. Once placed, they are triggered automatically by attackers who come within their proximity.
The effective range of the mine’s blast is approximately 6 meters, impacting all operators, including defenders. However, it’s important to note that Ela’s mines do not deal any direct damage to the impacted operators. Instead, they cause temporary visual and audio disorder, as well as lower control sensitivity for the affected operators.
The proximity range of the mines is around 4 meters, although this can vary depending on the line of sight. If an attacker is within range but not in the line of sight of the mine, it will not be triggered.
Unlike Lesion, Ela does not have a UI indicator for her placed traps. Therefore, gathering intel relies solely on visual and sound cues. However, Ela is notified with a point indicator when her Grzmot mines detonate.
It’s worth mentioning that Ela has the ability to pick up her mines and relocate them outside of the objective building if desired.
How to use Ela’s utility?
Ela, the operator in Rainbow Six Siege, brings a unique utility to the table with her Concussion mines. Let’s explore how to make the most of her utility in your defensive strategies.
Advantages of Ela’s Mines:
- Intel Gathering:
The Concussion mines are not just about causing chaos; they also provide valuable information about the enemy’s movements. Defenders don’t need visual contact on the placed mine, as the trap’s detonation creates a loud noise, giving defenders an audio cue about the enemy’s push from a specific direction. - Disruption of Attacker’s Senses:
When attackers are caught in the blast radius of Ela’s mines, their senses are severely disrupted, making it challenging for them to win gunfights. This gives defenders an advantage over the impacted enemy. However, keep in mind that attackers might expect to be pushed when the trap detonates, so be strategic in capitalizing on their disoriented state. - Defuser Denial:
The detonation of the mine can be used to cancel actions such as planting the defuser. However, pre-placed mines won’t be effective for this purpose, as the Grzmot trap would detonate before the planting begins. To impact the defuser plant, Ela needs to throw a trap precisely at the time of the defuser being planted. This technique requires impeccable timing, as the Grzmot mine needs a brief period to arm itself once placed.
Questions to Ask for Effective Mine Placement:
- Are attackers likely to come from this direction?
It’s crucial to be creative with utility placement as a trap operator, but avoid placing mines where attackers are unlikely to pass through. Focus on entrances to the objective area, as these are usually the most common routes attackers take. - How will this mine benefit both my team and me?
Consider the type of benefit you want to gain from the trap’s placement. Do you want to gather intel about the attackers’ approach from a specific direction, or are you aiming to increase the odds of winning gunfights? Placing a trap right at the entrance may be easier to conceal, but it also allows impacted attackers a secure retreat. Think about placing traps a few meters into the room to increase the chances of catching disoriented opponents. - Will this mine be easily spotted?
Ela’s mines provide great flexibility in terms of placement, as they can stick to all surfaces. It’s advisable to position the trap in a way that makes it difficult for attackers to spot and destroy it. One effective strategy is placing the Concussion mine above entrances, where it’s less likely to be noticed by attackers.
By considering these factors and strategizing your mine placement, you can maximize the impact of Ela’s utility, disrupting attackers and providing critical intel to your team.
Synergies with other operators:
While there are no specific synergies tailored for Ela’s utility in Rainbow Six Siege, her gadgets can still provide benefits to her teammates.
By placing her Concussion mines in close proximity to her teammates, Ela can support them in gunfights and provide valuable intel about the attackers’ push. These advantages apply to both Ela and her teammates, enhancing their overall defensive capabilities.
While Ela’s utility may not have unique interactions with other operators, her ability to disrupt and gather information can contribute to the overall success of the defensive team.
Countered by ELA:
Ela’s utility in Rainbow Six Siege provides effective counters to certain playstyles and operator abilities.
Here are some key aspects where Ela can have a significant impact:
- Entry Fraggers:
Ela’s Grzmot mines serve as a formidable counter against aggressive attackers who neglect to check their surroundings. Careless entry fraggers can be caught off guard by the concussion effect, hindering their ability to win gunfights and giving defenders an advantage. - Flanks:
Ela’s mines play a vital role in assisting the team with flank watch. When an attacker triggers a mine, the detonation not only disorients them but also reveals their position. This eliminates the element of surprise, allowing defenders to quickly react and gain an upper hand in defending against flanking maneuvers. - Defuser Plant:
Well-timed placement of Grzmot mines can interrupt defuser plants, causing a delay in the process. This can be crucial in last-second push scenarios, potentially tipping the scales between winning and losing a round. However, it’s important to note that Ela is not the optimal choice for plant denial. Operators like Smoke or Echo are better suited for this task due to their more specialized abilities. - Montagne:
When impacted by Ela’s mines, Montagne, the shield-wielding attacker, is forced to retract his extended shield. This vulnerability exposes him to shots aimed at his hands, feet, or melee attacks, making him a prime target for defenders.
By leveraging these aspects, Ela can disrupt enemy strategies, defend against flanking maneuvers, and provide valuable support to her team in critical moments.
Counters to Ela:
Ela’s Grzmot mines can be effectively countered by the utility of several attackers in Rainbow Six Siege. Here are the primary counters to Ela’s utility:
- IQ:
IQ’s electronics detector can identify the placement of Grzmot mines, making them visible to her. However, she needs a direct line of sight to shoot the mines, which may limit her ability to fully counter them. - Thatcher:
Thatcher’s EMP grenades disable Grzmot mines permanently within the blast radius, rendering them inert. - Twitch:
Twitch’s shock drone can zap and destroy targeted Grzmot mines, eliminating their effectiveness. - Brava:
Brava’s drone has the capability to take control of Grzmot mines, effectively turning them into a utility for the attacking team instead of a defensive asset.
In addition to these operator-specific counters, Grzmot mines can also be eliminated by explosions and gunfire:
Explosives:
- Frag grenades: Operators like Buck, Sledge, or Finka can use frag grenades to destroy Grzmot mines within the explosion radius.
- Breaching rounds: Ash can utilize her ranged breaching launcher to destroy Grzmot mines within their effective range.
- Impact grenades – Lifeline: Similar to Ash, Zofia can neutralize traps by shooting her impact grenades in the area where the mines are placed.
These counters provide attackers with various methods to nullify or destroy Ela’s Grzmot mines, reducing their impact and ensuring a safer approach.

Ela Playstyle Guide
Playstyle role of ELA
Roamer
Ela’s passive utility and high mobility make her a good roamer. She is, however, lacking access to any explosives (C4, impact grenades) besides her primary shotgun, which limits her capability as a roamer to open new routes. This is an important limitation in terms of Ela’s ceiling as a roamer since her flexibility in approach is restricted.
Furthermore, Ela is not a good pick for long or medium range engagements due to the recoil of her SMG.
Despite these limitations, Ela can get the job done very well on the roam. Just make sure to understand your strengths and weaknesses when utilizing her for roaming the map.
Roaming means leaving the objective site as a defender to interrupt and flank the attacking team.
Roamers usually split into disruptive and sneaky ones:
Disruption involves denying the ability to enter the building for attackers and continuously harassing attackers to shift their attention from objective to you.
Sneaky roamers rely more on concealing their presence and location to flank unsuspecting attackers during a later stage of the round.
As a roamer, getting kills is a great addition, but not the only reason for roamers to exist. The main point of roaming is to waste attackers time and make them feel uncomfortable pushing the site before dealing with you.
Roaming role is filled usually by more advanced players as it requires:
- advanced map knowledge
- mobility
- creativity
- good game sense
If you want to learn more about roaming, we recommend visiting the page dedicated to this role by clicking the below button.
Difficulty of ELA – Easy
- User-Friendly Utility:
Ela’s Grzmot mines are easy to utilize mechanically. - Non-Vital Utility and Passive Ability:
Ela’s utility, the Grzmot mines, are not considered vital for the team’s success. You can deploy them at the start of the round and provide benefit to your team even if you die. - Strong Close-Range Firearms:
Ela possesses a high rate of fire SMG and a powerful shotgun, making her formidable in close-quarters engagements.
While Ela is generally considered easy to pick up and play, mastering her and utilizing her full potential in advanced strategies and coordinated team play may require further experience and skill development.

Ela Loadout Guide
available loadout for Ela
| Primary Weapons | Scorpion Evo | FO-12 | – |
| Secondary Weapons | RG-15 | – | – |
| Universal Gadgets | Barbed Wire | Deployable Shield | Observation Blocker |
suggested loadout for Ela
| Primary Weapon | Barrel | Grip | Sight |
|---|---|---|---|
| Scorpion Evo | Flash Hider | Vertical Grip | Holo |
| Secondary Weapon | Barrel | Grip | Sight |
|---|---|---|---|
| RG-15 | Muzzle Brake | N/A | N/A |
| Universal Gadget |
|---|
| Barbed Wire |
Why such loadout for ELA?
Primary Weapons:
Let’s delve into Ela’s current status in the game and the reasoning behind her loadout, considering the multiple nerfs she has undergone. In the past, Ela was an overpowered operator, boasting minimal recoil and an incredibly lethal combination of high fire rate and a 51-round magazine. This made her proficient at long, medium, and short-range encounters with the Scorpion submachine gun, capable of taking on multiple enemies without reloading.
However, Ela has since been heavily nerfed and now finds herself in a more balanced state. Her weapons are most effective in close-quarters combat, which should be your primary focus when selecting her loadout.
The FO-12 is a semi-automatic shotgun with a relatively high fire rate. It can be a useful choice when you intend to control chokepoints and engage in close-range encounters. If you opt for the FO-12, I recommend equipping the extended barrel for increased damage. While the suppressor may seem appealing (sounds sexy, doesn’t it?), it won’t provide substantial benefits when attached to a shotgun.
In most cases, I would suggest using the Scorpion as Ela’s primary weapon, even when engaging enemies at close range. It’s worth noting that the Scorpion has noticeable recoil, particularly a horizontal jump after the initial few bullets, which can be challenging to counter. To mitigate this, I recommend using the compensator barrel attachment, as it helps make the Scorpion somewhat controllable. Realistically, though, you should not expect to maintain pinpoint accuracy while spraying, regardless of the barrel choice.
Equipping the angled grip on the Scorpion makes the weapon highly uncontrollable. Therefore, I advise always using the vertical grip to improve manageability. As Ela does not have access to magnifying scopes, I personally favor the Reflex sight. However, the choice of sights ultimately comes down to personal preference. I encourage you to test different options and select the one that feels most comfortable for you.
Remember, Ela’s strength lies in close-range engagements, so capitalize on her weapons’ effectiveness in that range. Adapt your playstyle accordingly and continuously refine your skills with her loadout to maximize your impact as Ela on the battlefield.
Secondary Weapon:
Ela’s secondary weapon, the RG15, is a reliable pistol that offers a high ammo count but lower damage per bullet. It comes equipped with a unique sight by default, featuring a green laser sight instead of the usual red one. To help control the recoil of the RG15, I recommend using the muzzle brake attachment. As for the laser sight, its usage depends heavily on personal preference. If you find yourself rarely engaging in hipfire gunfights, it’s advisable to leave it out to minimize the risk of giving away your exact position.
Secondary Gadget:
For secondary gadgets, my preferred choice for Ela is the Barbed Wire. Barbed wire serves as a versatile utility that can complement Grzmot mines effectively. Its ability to slow down attackers can make it more challenging for impacted opponents to retreat to safety. Additionally, barbed wire provides a sound cue to defenders, alerting them to incoming attackers and forcing the attackers to spend time, resources, or put themselves at risk while dealing with the wire.
Deployable shields can also be useful in specific situations, but I suggest selecting them only when you have a well-thought-out plan on how to maximize their effectiveness.
Ela is also one of few defenders who can equip Observation Blocker gadget. It’s a handy tool on defensive end. However, blocker is rather more situational tool. Pick it if you have specific usage in mind.
More Content:
Rainbow Six Siege Operator Guide: How To Play Ace in 2023?
https://youtu.be/x32EyVrg8Jw Rainbow Six Siege Operator Guide:How To Play Ace in 2023? Ace is the 4th Hard breacher in the Rainbow Six Siege attacking roster.As a Hard breacher, he is capable…

