Rainbow Six Siege Oryx Guide:
How To Play Oryx in 2023
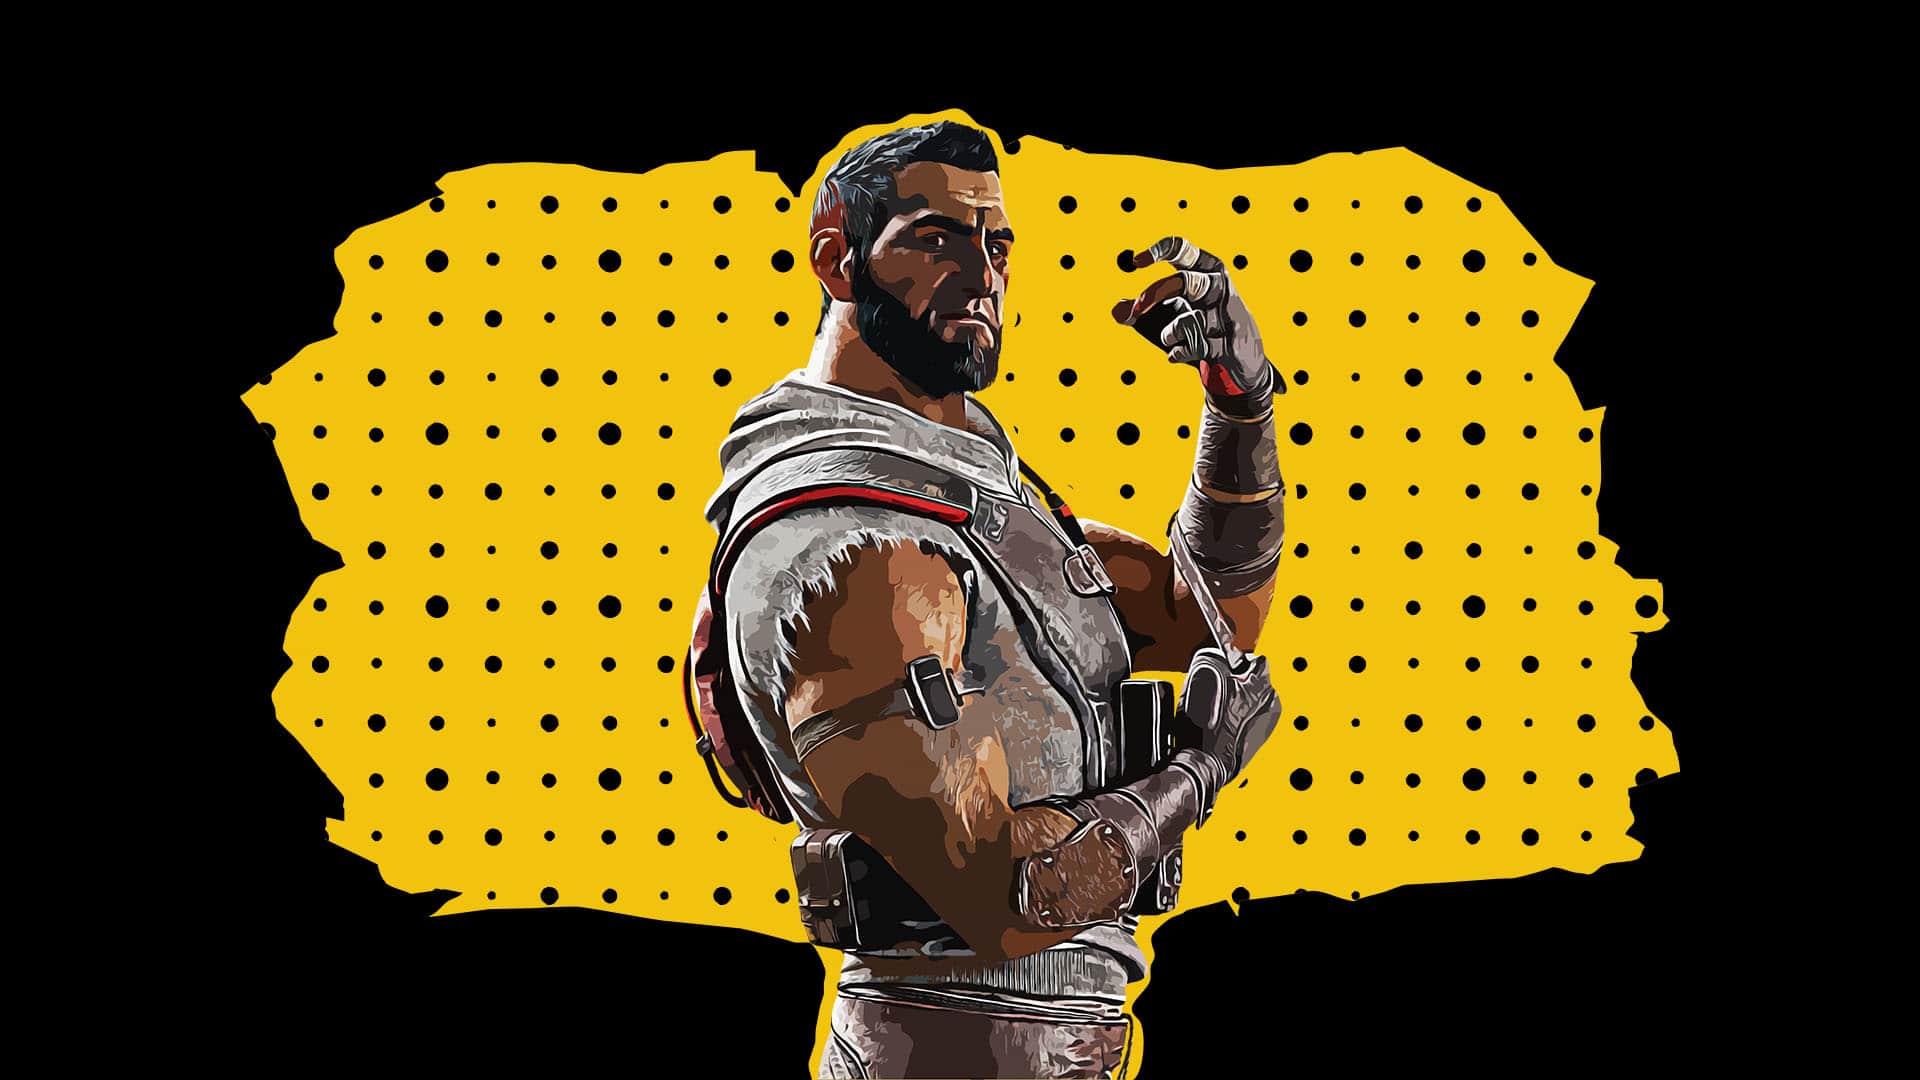
Oryx joined the roster as the most beefed up operator in Rainbow Six Siege.
He caters to the desires of roaming specialists who prioritize power over stealth. Oryx introduces a fresh dimension to flanking strategies by utilizing vertical movement.
Furthermore, his arsenal consists of a loadout that synergizes excellently with his unique approach to the game.
PROS:
- Oryx enhances roaming ability with unique abilities.
- Effective counter against Montagne & Blitz
- Provides the most freedom for roaming the map.
CONS:
- Lacks impactful utility from a team perspective.
- Not a 3-speed operator, limiting speed as a roamer.
OPERATOR GUIDE – ORYX
TABLE OF CONTENT

Oryx Utility Guide
What is the ability of Oryx?
Oryx possesses two unique abilities that define his utility:
- Remah Dash
- Climbing hatches
Remah Dash
Let’s start by discussing Remah Dash, a short-burst dash ability that allows Oryx to quickly cover ground or create openings in soft surfaces.
CHARACTERISTICS OF REMAH DASH:
- The ability has a maximum of 3 charges that regenerate over time.
- Dashing through a soft wall inflicts 5HP damage to Oryx.
- Using a sprint through a wall consumes all available charges.
- The cooldown for 1 charge is approximately 8 seconds.
- The dash covers a distance of about 5 meters.
- After successfully breaking through a wall, Oryx requires a moment to equip his weapon.
- The recharge of charges is indicated in the UI and accompanied by a breathing sound.
WHAT CAN REMAH DASH DO?
- Dash through soft walls: Oryx can break through surfaces that defenders can reinforce and attackers can breach without the need for dedicated hard breaching operators.
- Create openings in adjacent walls: By aiming the dash at the conjunction of two walls, Oryx can create an opening between them.
- Destroy barricades: Oryx can destroy both windows and doors using only 1 charge, unlike dashing through walls.
- Destroy utility placed on impacted walls.
- Knockdown attackers: Impacted enemies are left vulnerable for a short time.
- Destroy penetrable surfaces in furniture.
- Blast through Armored Panels (Castle).
- Dash through one laser of a claymore, but multiple lasers will kill or down Oryx.
WHAT CAN REMAH DASH NOT DO?
- Destroy deployable shields.
- Dash through open hatches (Oryx will fall normally).
- Break reinforced walls.
- Destroy defenders’ gadgets on the floor as he runs through.
- Impact attackers rappelled outside of the window Oryx dashed at.
- Change the direction of the dash mid-animation.
Climbing Hatches
Now let’s shift our focus to Oryx’s ability to climb hatches with the following characteristics:
- The hatch must be opened for Oryx to climb it.
- Climbing does not consume Remah Dash charges and has no limitations.
- Oryx can immediately climb the hatch (hold down the vault button) or grip it (press the vault button).
- While gripping, Oryx can assess the situation before deciding to climb or drop back down.
- Weapons cannot be used while gripping.
- Once initiated, the climbing animation cannot be canceled.
- Oryx can only grip the hatch from below; he cannot do so while falling or standing beside it.
- Roof hatches cannot be climbed.
UTILITY ROLE:
In terms of utility, Oryx’s unique abilities enhance his roaming capabilities, making him a valuable addition to the roster of dedicated roamers such as Caveira and Vigil.
How to use Oryx’s utility?
MECHANICALLY:
Both of Oryx’s abilities are simple to use mechanically. For Remah Dash, simply press the unique utility button, and Oryx will sprint in the direction you’re aiming. To climb hatches, look at the hatch edge and press the unique utility button to grip or hold it to climb immediately.
USE VERTICALITY TO YOUR ADVANTAGE:
Oryx’s ability to climb hatches introduces a new layer of potential flanking in Rainbow Six Siege.
It allows defenders to rotate from below, creating new opportunities to surprise attackers. This is particularly effective when attackers focus on controlling the top and middle floors or when the objective has a destructible ceiling.
PRE-OPEN HATCHES:
When flanking from below, the element of surprise is your biggest asset. Opening hatches with the Bailiff shotgun, a shotgun, or an impact grenade can create noise and make attackers forget about hatches.
Consider pre-opening hatches during the preparation phase or early stages of the action phase.
DESTROY FURNITURE, ESPECIALLY NEAR DEFAULT PLANT SPOTS:
Cupboards and other wooden furniture can obstruct defenders’ line of sight. In certain objectives, attackers may use furniture as cover when planting in default spots.
Destroying furniture, also known as “Dashtruction,” is particularly effective in sites like the 3rd floor Bar defense on Kafe Dostoyevsky.
WAIT FOR OPPONENTS TO BE DISTRACTED:
Choosing the right moment to flank is crucial for successful roaming. Look for signs that attackers are distracted, such as excessive gunfire, explosions, utility usage, drone deployment, intel from teammates, or the last 20-30 seconds of the round when pressure is high.
REMEMBER: REMAH DASH HAS ITS DOWNSIDES!
Using Remah Dash has two main disadvantages. First, Oryx generates noise while moving, especially when using his dash ability. Try to avoid dashing if you want to remain stealthy and catch attackers off guard. Second, there is a delay in drawing your weapon after a successful dash. Be cautious and don’t rely solely on dashing to engage enemies.
WHEN YOU SEE MONTAGNE, DON’T GET GREEDY:
While it’s tempting to rush Montagne when you finally have the opportunity, take a moment to aim carefully. Missing your shot can leave you vulnerable to getting killed. Remember that skilled Montagne players can sidestep or down you with a melee attack.
DON’T KILL YOURSELF WITH DASHING:
In the heat of the round, when attackers are chasing you, it’s important to pay attention to your health. Avoid bursting through walls if you have low health, as it can result in your own demise. Take a moment to assess your health after a gunfight before utilizing Remah Dash again.
Synergies with other operators:
DOC:
One of the synergistic operator combinations for Oryx is Doc.
Oryx loses 5 HP every time he breaks through a wall using his ability, Remah Dash. In situations where Oryx needs to reshape the bomb site or create openings, having Doc as a teammate can be highly beneficial.
Doc can use his Stim Pistol to restore Oryx’s lost HP, keeping him in the fight and maximizing his roaming potential. This partnership allows Oryx to be more aggressive with his utility while having the assurance of healing support from Doc.
Countered by Oryx:
Oryx is particularly effective at countering shield operators, especially Montagne.
His Remah Dash ability can knock down shield operators, even when Montagne is fully extended.
This gives Oryx a significant advantage in engagements against shield-wielding opponents, allowing him to disrupt their defenses and create openings for his team.
Counters to Oryx:
Currently, in Rainbow Six Siege, there are no hard counters to Oryx from a unique utility or role perspective. However, there are several strategies and operator abilities that can be effective against Oryx:
- Claymores:
Placing claymores close to hatches can be an effective way to counter Oryx. If he climbs the hatch, he will trigger the claymore. To ensure the laser doesn’t stick out of the hatch, carefully position the claymore. - Melee Attacks:
Oryx is vulnerable to melee attacks while dashing. Timing your melee attack correctly can catch him off guard. This technique is especially useful for shield operators. - Sidestepping:
Quickly moving to the side, even with a shield operator like Montagne, can make Oryx miss his dash and give you an opportunity to counter him. - Airjabs:
Nomad’s Airjabs can have a similar impact on Oryx as they do on other operators. Placing Airjabs near open hatches can prevent Oryx from gripping onto the hatch, but remember that Airjabs only activate when an operator has both feet on the ground. - Footprint Scan:
Jackal can use his ability to scan Oryx’s footprints and determine his position. However, utilizing scans against Oryx can be challenging due to his ability to sprint rapidly in quick successions. - Claymores:
Leaving claymores at opened hatches can effectively counter Oryx’s flanking attempts, as he may trigger the claymore when passing through.
By employing these strategies and utilizing the abilities of specific operators, you can effectively counter Oryx and minimize the impact of his roaming capabilities.

Oryx Playstyle Guide
Playstyle role of Oryx
DEDICATED ROAMER
Oryx is specifically designed for a roaming playstyle. His unique abilities and loadout complement his roaming capabilities, even though he is not a 3-speed 1-armor defender. Opting to stay on the objective site with Oryx would be akin to selecting Vigil for that role—it can be done, but it doesn’t make much sense.
WHAT IS ROAMING?
Roaming, as a defender, involves leaving the objective site to disrupt and flank the attacking team. Roamers can be categorized as either disruptive or sneaky. Disruptive roamers focus on denying the attackers’ ability to enter the building and constantly harassing them, diverting their attention from the objective. Sneaky roamers rely on concealing their presence and location to flank unsuspecting attackers later in the round.
Oryx has the potential to create new pathways and roam vertically, although his roaming style is the complete opposite of Caveira’s sneaky approach—he doesn’t seem to care about making noise. However, it’s important to remember that despite feeling like an indestructible Juggernaut, you are still a regular operator.
PRIORITIES OF A ROAMER
As a roamer, securing kills is certainly advantageous, but it’s not the sole purpose of roaming. The primary objective is to waste the attackers’ time and make them feel uneasy about pushing the objective before dealing with you. This can be achieved by maintaining control over key areas that prevent attackers from freely advancing towards the site, leaving them vulnerable to a surprise flank later on.
The role of a roamer is typically suited for more experienced players who possess:
- Advanced map knowledge
- Mobility
- Creativity
- Good game sense
If you’re interested in learning more about roaming, we recommend visiting the dedicated section on this role by clicking the button below.
Difficulty of Oryx – Medium
Oryx is a moderately challenging operator to master, with a playstyle that demands a solid understanding of the game mechanics and map knowledge.
- MECHANICAL SIMPLICITY:
Oryx’s unique abilities are straightforward to use, making him accessible to players of various skill levels. - ROLE SIGNIFICANCE:
While Oryx’s role is not vital to the team’s overall setup, he can still make valuable contributions with his roaming capabilities. - GAME SENSE AND MAP KNOWLEDGE:
To effectively utilize Oryx’s roaming potential, advanced game sense and extensive map knowledge are crucial, allowing you to navigate the environment and make informed decisions. - ROAMING EXPERIENCE:
Roaming as Oryx requires more experience with the game compared to playing as an anchor, as it demands a deeper understanding of the attacking strategies and the ability to create disruptive flanking routes.

Oryx Loadout Guide
available loadout for Oryx
| Primary Weapons | T-5 | SPAS-12 | – |
| Secondary Weapons | Bailiff 410 | USP40 | – |
| Universal Gadgets | Barbed Wire | Proximity Alarm |
suggested loadout for Oryx
| Primary Weapon | Barrel | Grip | Sight |
|---|---|---|---|
| T-5 | Flash Hider | Vertical Grip | Reflex A |
| Secondary Weapon | Barrel | Grip | Sight |
|---|---|---|---|
| Bailiff 410 | N/A | N/A | N/A |
| Universal Gadget |
|---|
| Barbed Wire |
Why such loadout for Oryx?
PRIMARY WEAPONS
When it comes to Oryx’s primary weapons, the SPAS shotgun is a viable option, but we generally recommend using shotguns as primary weapons only if you have access to an automatic secondary weapon like Mute or Smoke.
On the other hand, the T-5 SMG is one of the best choices for defenders. It boasts a high fire rate of 900 RPM and deals a decent 28 damage per bullet. As for sights, we recommend using Reflex A since we have no access to magnifying scopes.
When it comes to barrel attachments, the flash hider works great with the T-5, providing solid reduction to vertical recoil. However, if horizontal spread during sustained fire bothers you, you could give the compensator a try. As for grips, unfortunately, there are no options available for Oryx.
SECONDARY WEAPONS
Since the T-5 is our primary choice, we opt for the Bailiff as Oryx’s secondary weapon. The Bailiff is not chosen for its killing potential, but rather for its ability to open hatches. Since Oryx can climb hatches, having a way to open them is essential unless you plan to rely on your teammates for that task.
SECONDARY GADGETS
The choice of secondary gadgets may vary depending on your team’s setup and the objective you’re playing. Barbed wire is a solid default option that slows down attackers and forces them to make more noise while crossing it. It provides good utility overall.
If you have a specific plan for using a Proximity Alarm or your team already has a sufficient amount of barbed wire, then picking the alarm can be a viable alternative. The Proximity Alarm helps prevent sneaky flanks and gives you more mental space for holding angles. Consider your team’s needs and strategize accordingly to maximize your effectiveness on the field.
More Content:
Rainbow Six Siege Operator Guide: How To Play Ace in 2023?
https://youtu.be/x32EyVrg8Jw Rainbow Six Siege Operator Guide:How To Play Ace in 2023? Ace is the 4th Hard breacher in the Rainbow Six Siege attacking roster.As a Hard breacher, he is capable…


