- All
- Key Reinforcements
- Optional Reinforcements
West Balcony walls
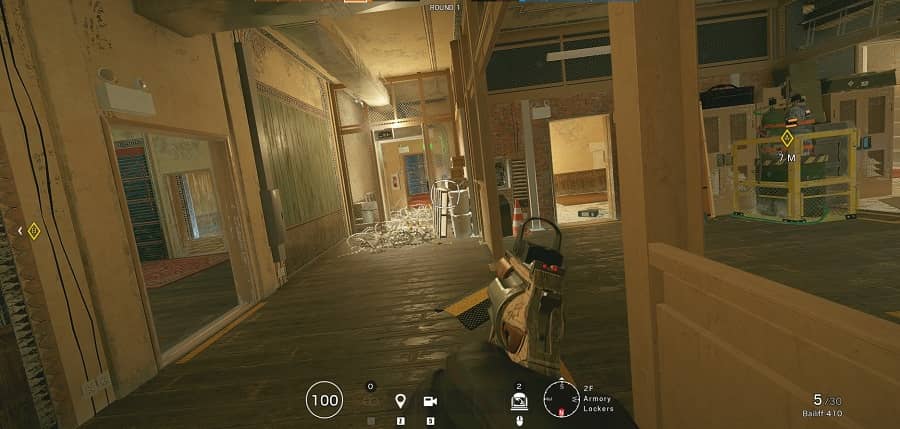
Walls leading to exteriors in Armory Lockers
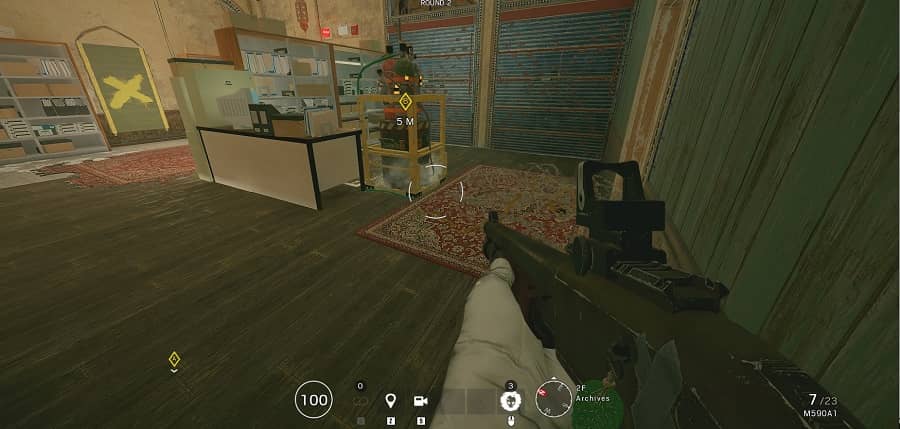
Archives East walls
Walls leading to Offices

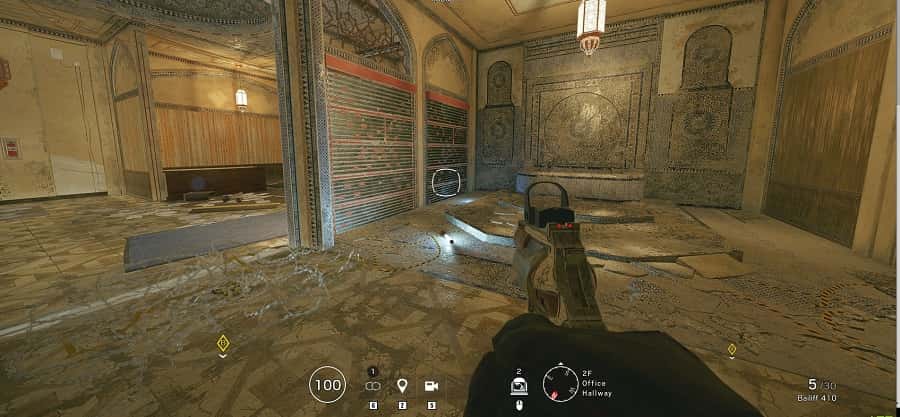
Archives South-East wall
Wall leading to Fountain
Corridor wall
Wall between CCTV and Armory Lockers

Fountain West walls
Leading to Metal stairs corridor
Fountain East walls
Leading to Offices
West Balcony walls
Walls leading to exteriors in Armory Lockers

Archives North-East
Doors leading to East Balcony
Archives South-East wall
Wall leading to Fountain
Metal door
Entrance to Armory from Corridor hall
Fountain West walls
Leading to Metal stairs corridor
Fountain East walls
Leading to Offices